3. The Folletour
A guide to the house and land, and its history, which can be used to trace and understand decisions. It's also useful to give big sexy juicy Folletours oh là là!!
The quickest most important Folletour ever
Here we're going to talk about all the stuff that's VERY VERY IMPORTANT and that every faerie on the land should know!

How to lead a Folletour
Here's an example of an itinerary for the Folletour -- skillfully summarized by our dear Butter toast <3
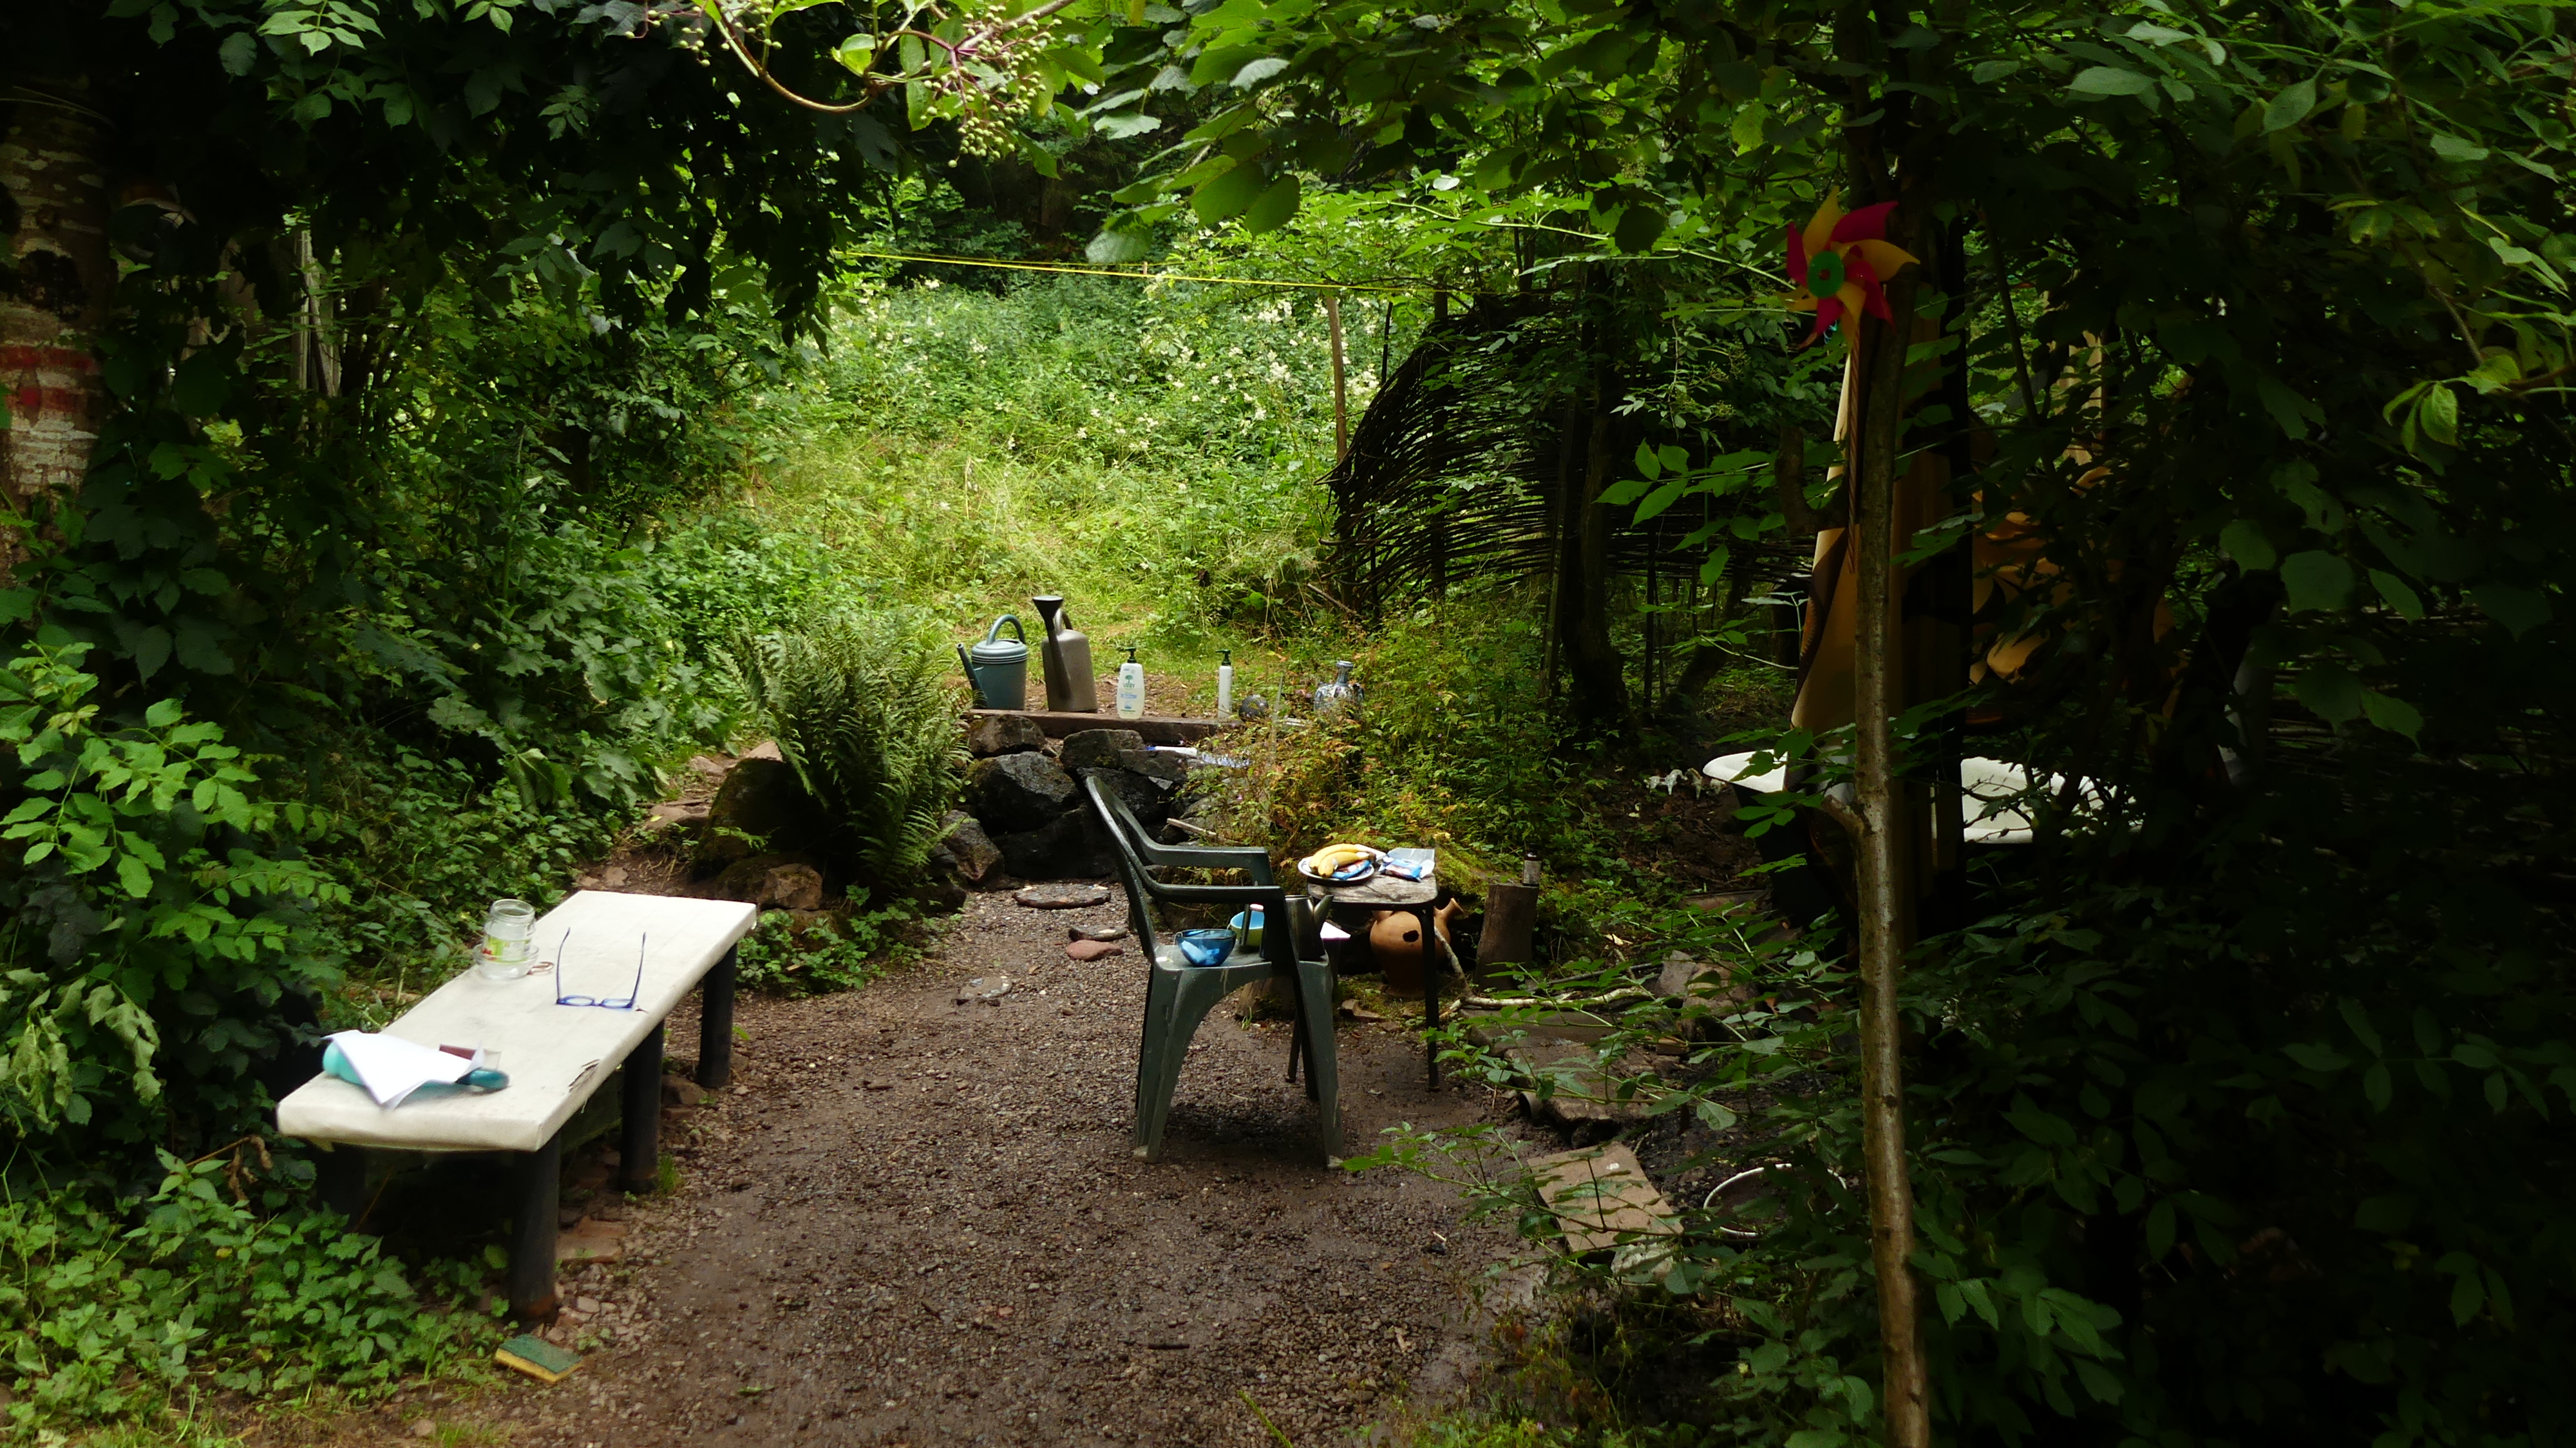
 1. Meeting point for the start of the Folletour: The “Bus stop” by the garden
-
- Small intro on Radical Fairies
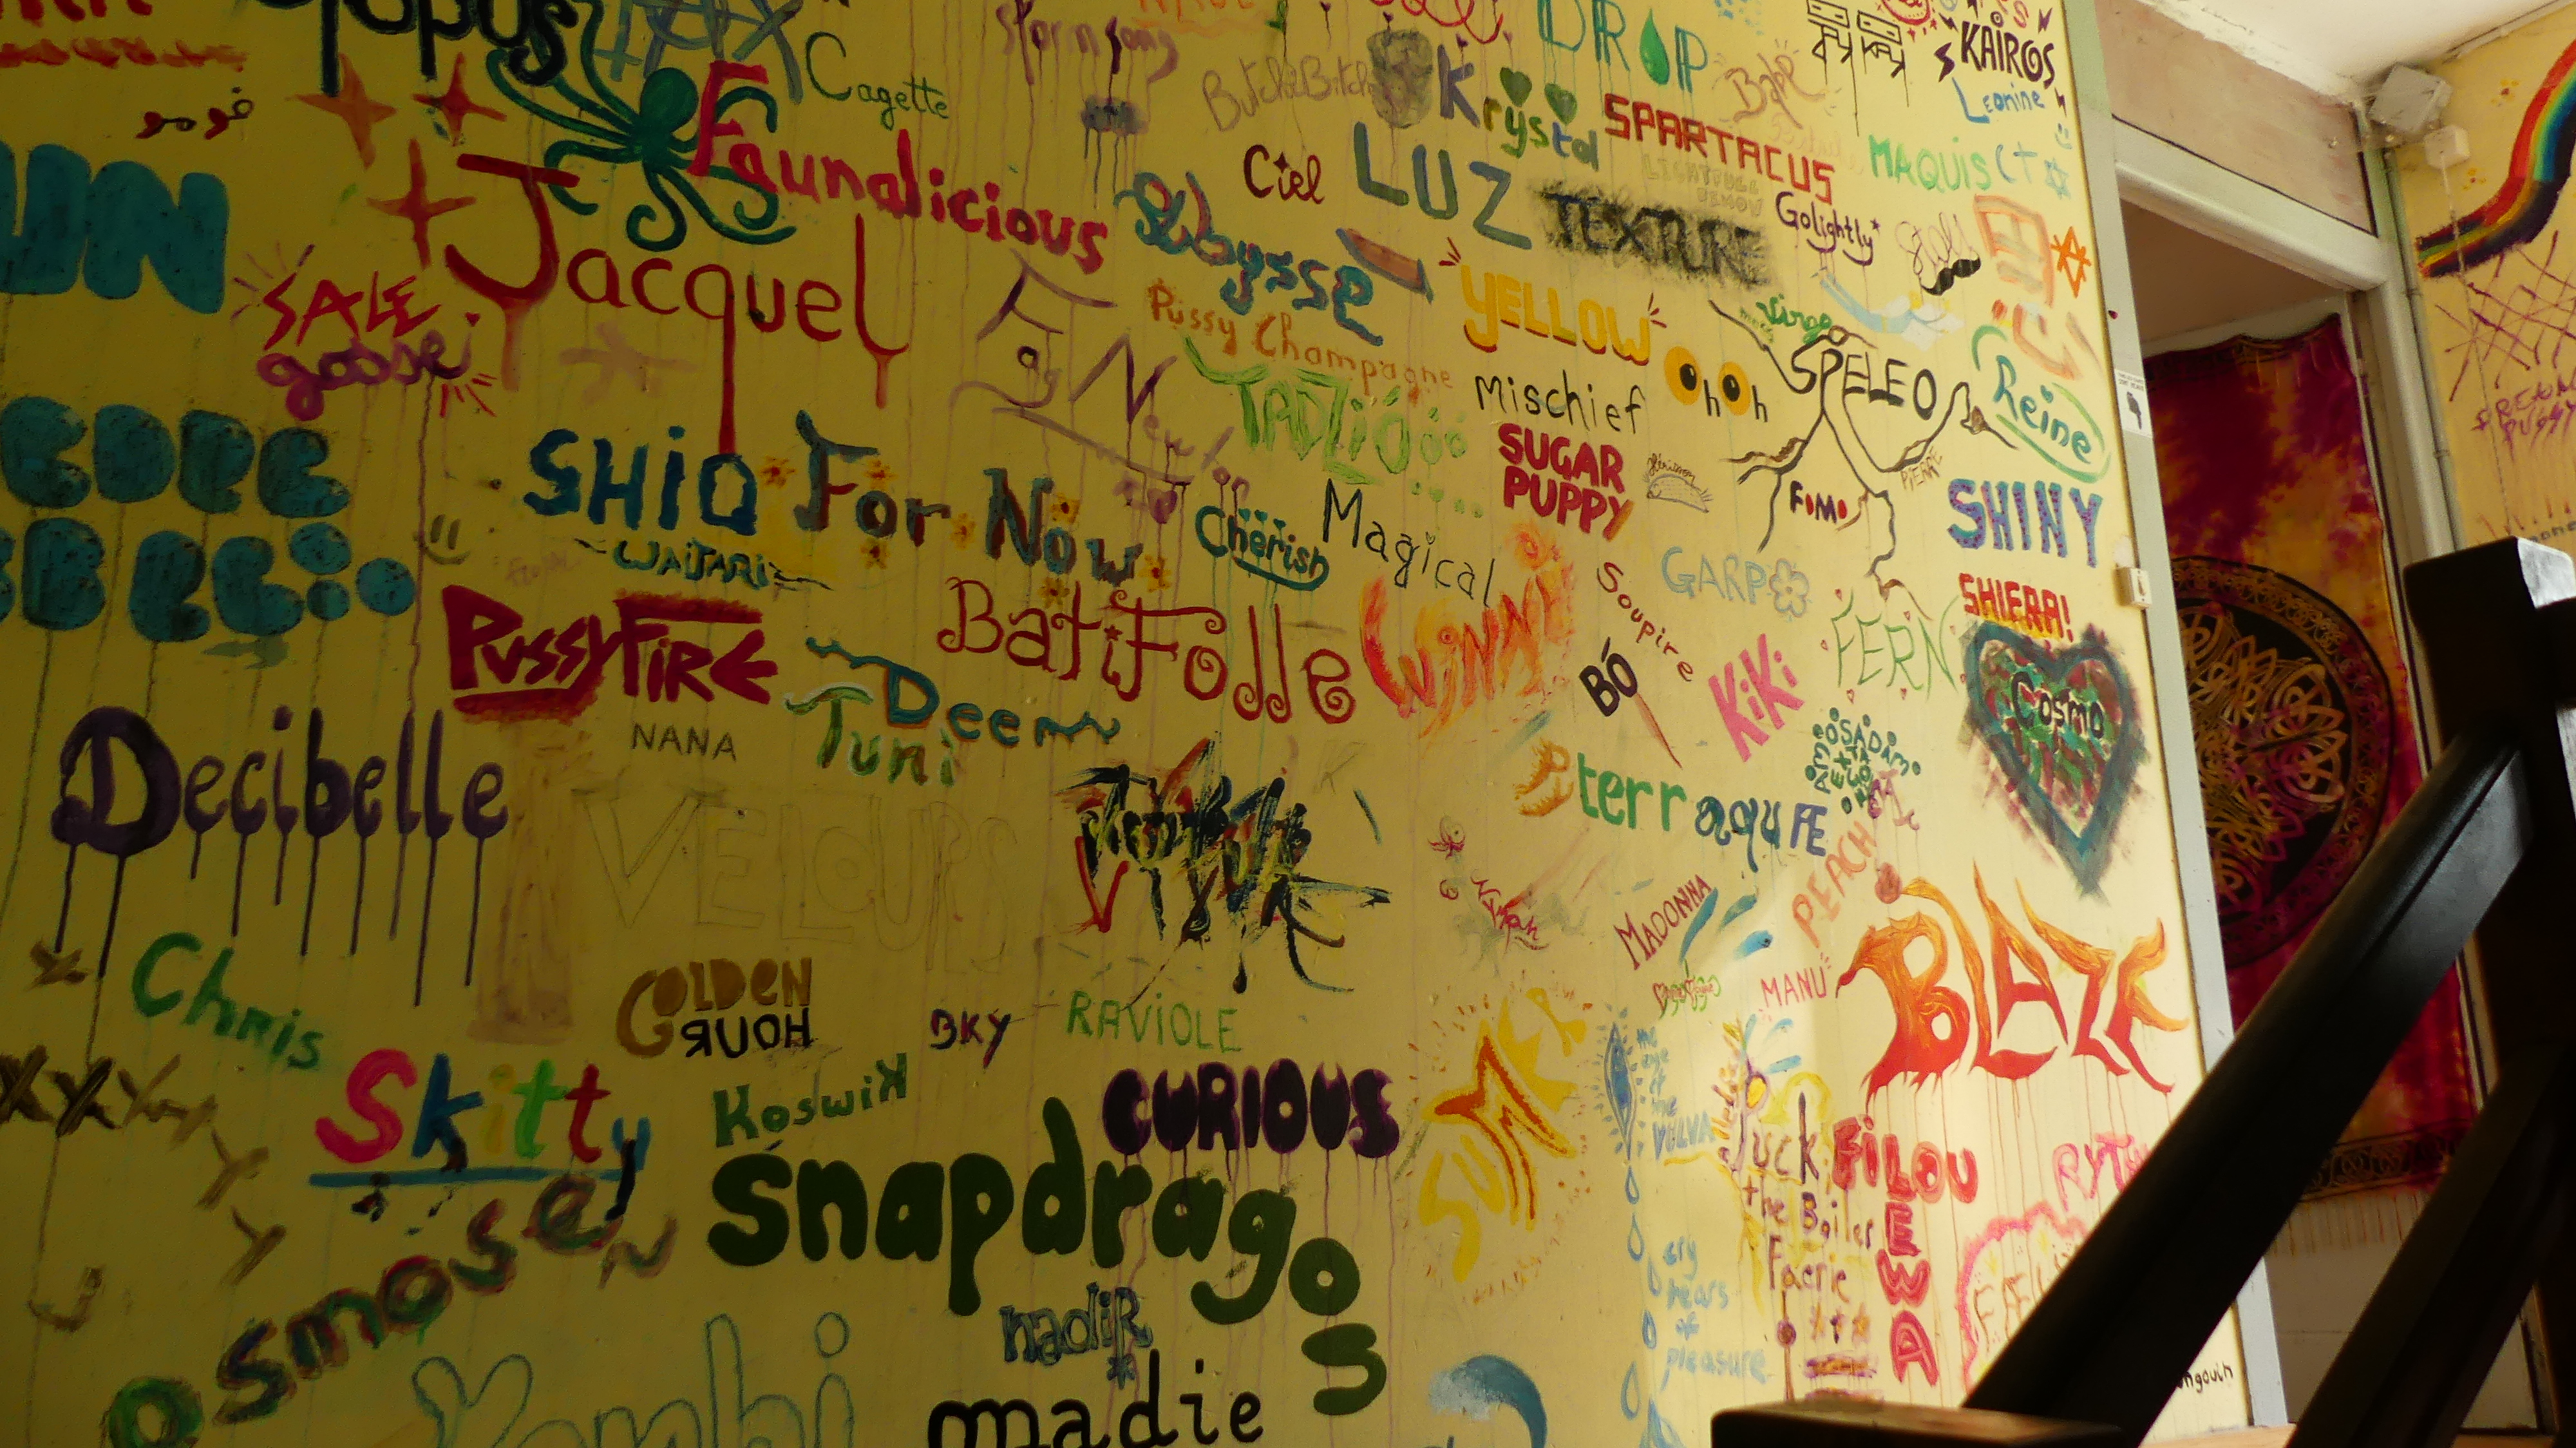
- “Welcome Home” fabric = Folleterre is a sanctuary for queer people from all over the world
- Garden, composting and wells = Radical faeries are ecologically-concious and trying as best as they could to live a life respecting their environment and nature in general
- We drink the water from the land
- We compost our biowastes and grow vegetables and herbs in the garden
- We cook and eat veggie food, with vegan options
- Radical faeries actively try and recreate a link with nature through rituals in nature and nurturing our land
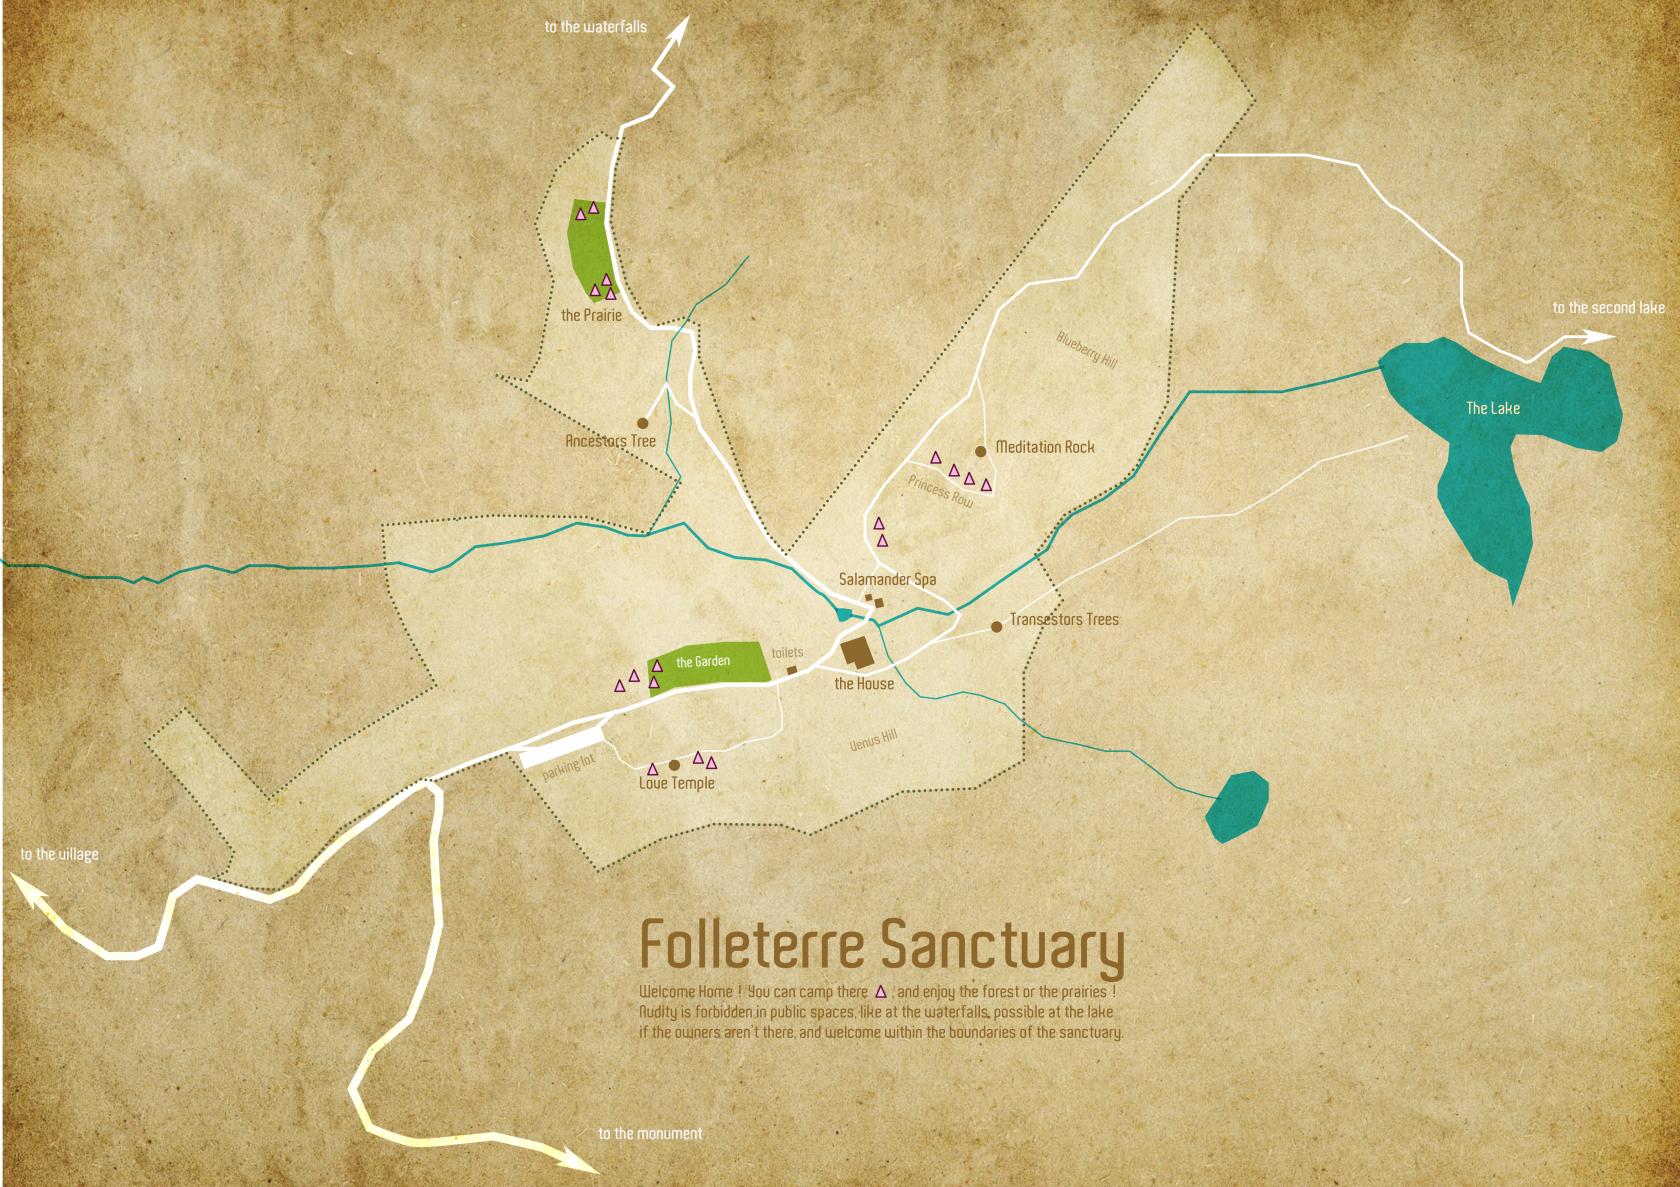
- Small intro on Folleterre, our land
- Found and purchased in 2005 by a group of Euro faeries
- The house and a piece of the land is owned by an “association régie par la loi de 1901”, a French non-profit organization, called Les Amis de Folleterre (The Friends of Folleterre)
- Two adjacent pieces of land are privately owned by two faeries
- Small intro on Radical Fairies
2. Pink Potty Club

-
- Toilets systems through the ages & hygiene in Folleterre
- The Pink Potty Club is the current toilets system of Folleterre: Perpetual composting system with two separate cabins.
- Before that: the shit tower and the Rabbit hole, garbage bins in the Pink Potty Club
- For peeing: Fairies can pee outside but be mindful of the conditions à if the weather is dry, don’t pee too close to where people live.
- Hygiene in Folleterre: we live in large groups and close proximity, be careful about your health and the health of other fairies à Washing your hands after you go to the toilets is super important to prevent spreading diseases + wash your hands when you enter the breakfast barn, the pantry and the kitchen and before every meal
- Warning about previous shigella outbreaks to stress the importance of this and emphasize the collective responsibility we share
- Washing hands: water and soap OR hydroalcoholic gel – show where a refill can be found if there is no more gel somewhere + using this example of an empty soap ou gel dispenser empty, talk on responsibility of every faery to make things work: if you find a task, do it or ask someone to do it or help you do it
3. Smoking area
-
- Discuss rules about smoking on the land
- Good occasion to repeat the rules about not offering drugs and being discreet and conscious about other people’s struggle with addiction + the Hermes role?)
- Good spot to talk about impermanence in Folleterre, how things move and change fast when people set their mind and effort to it
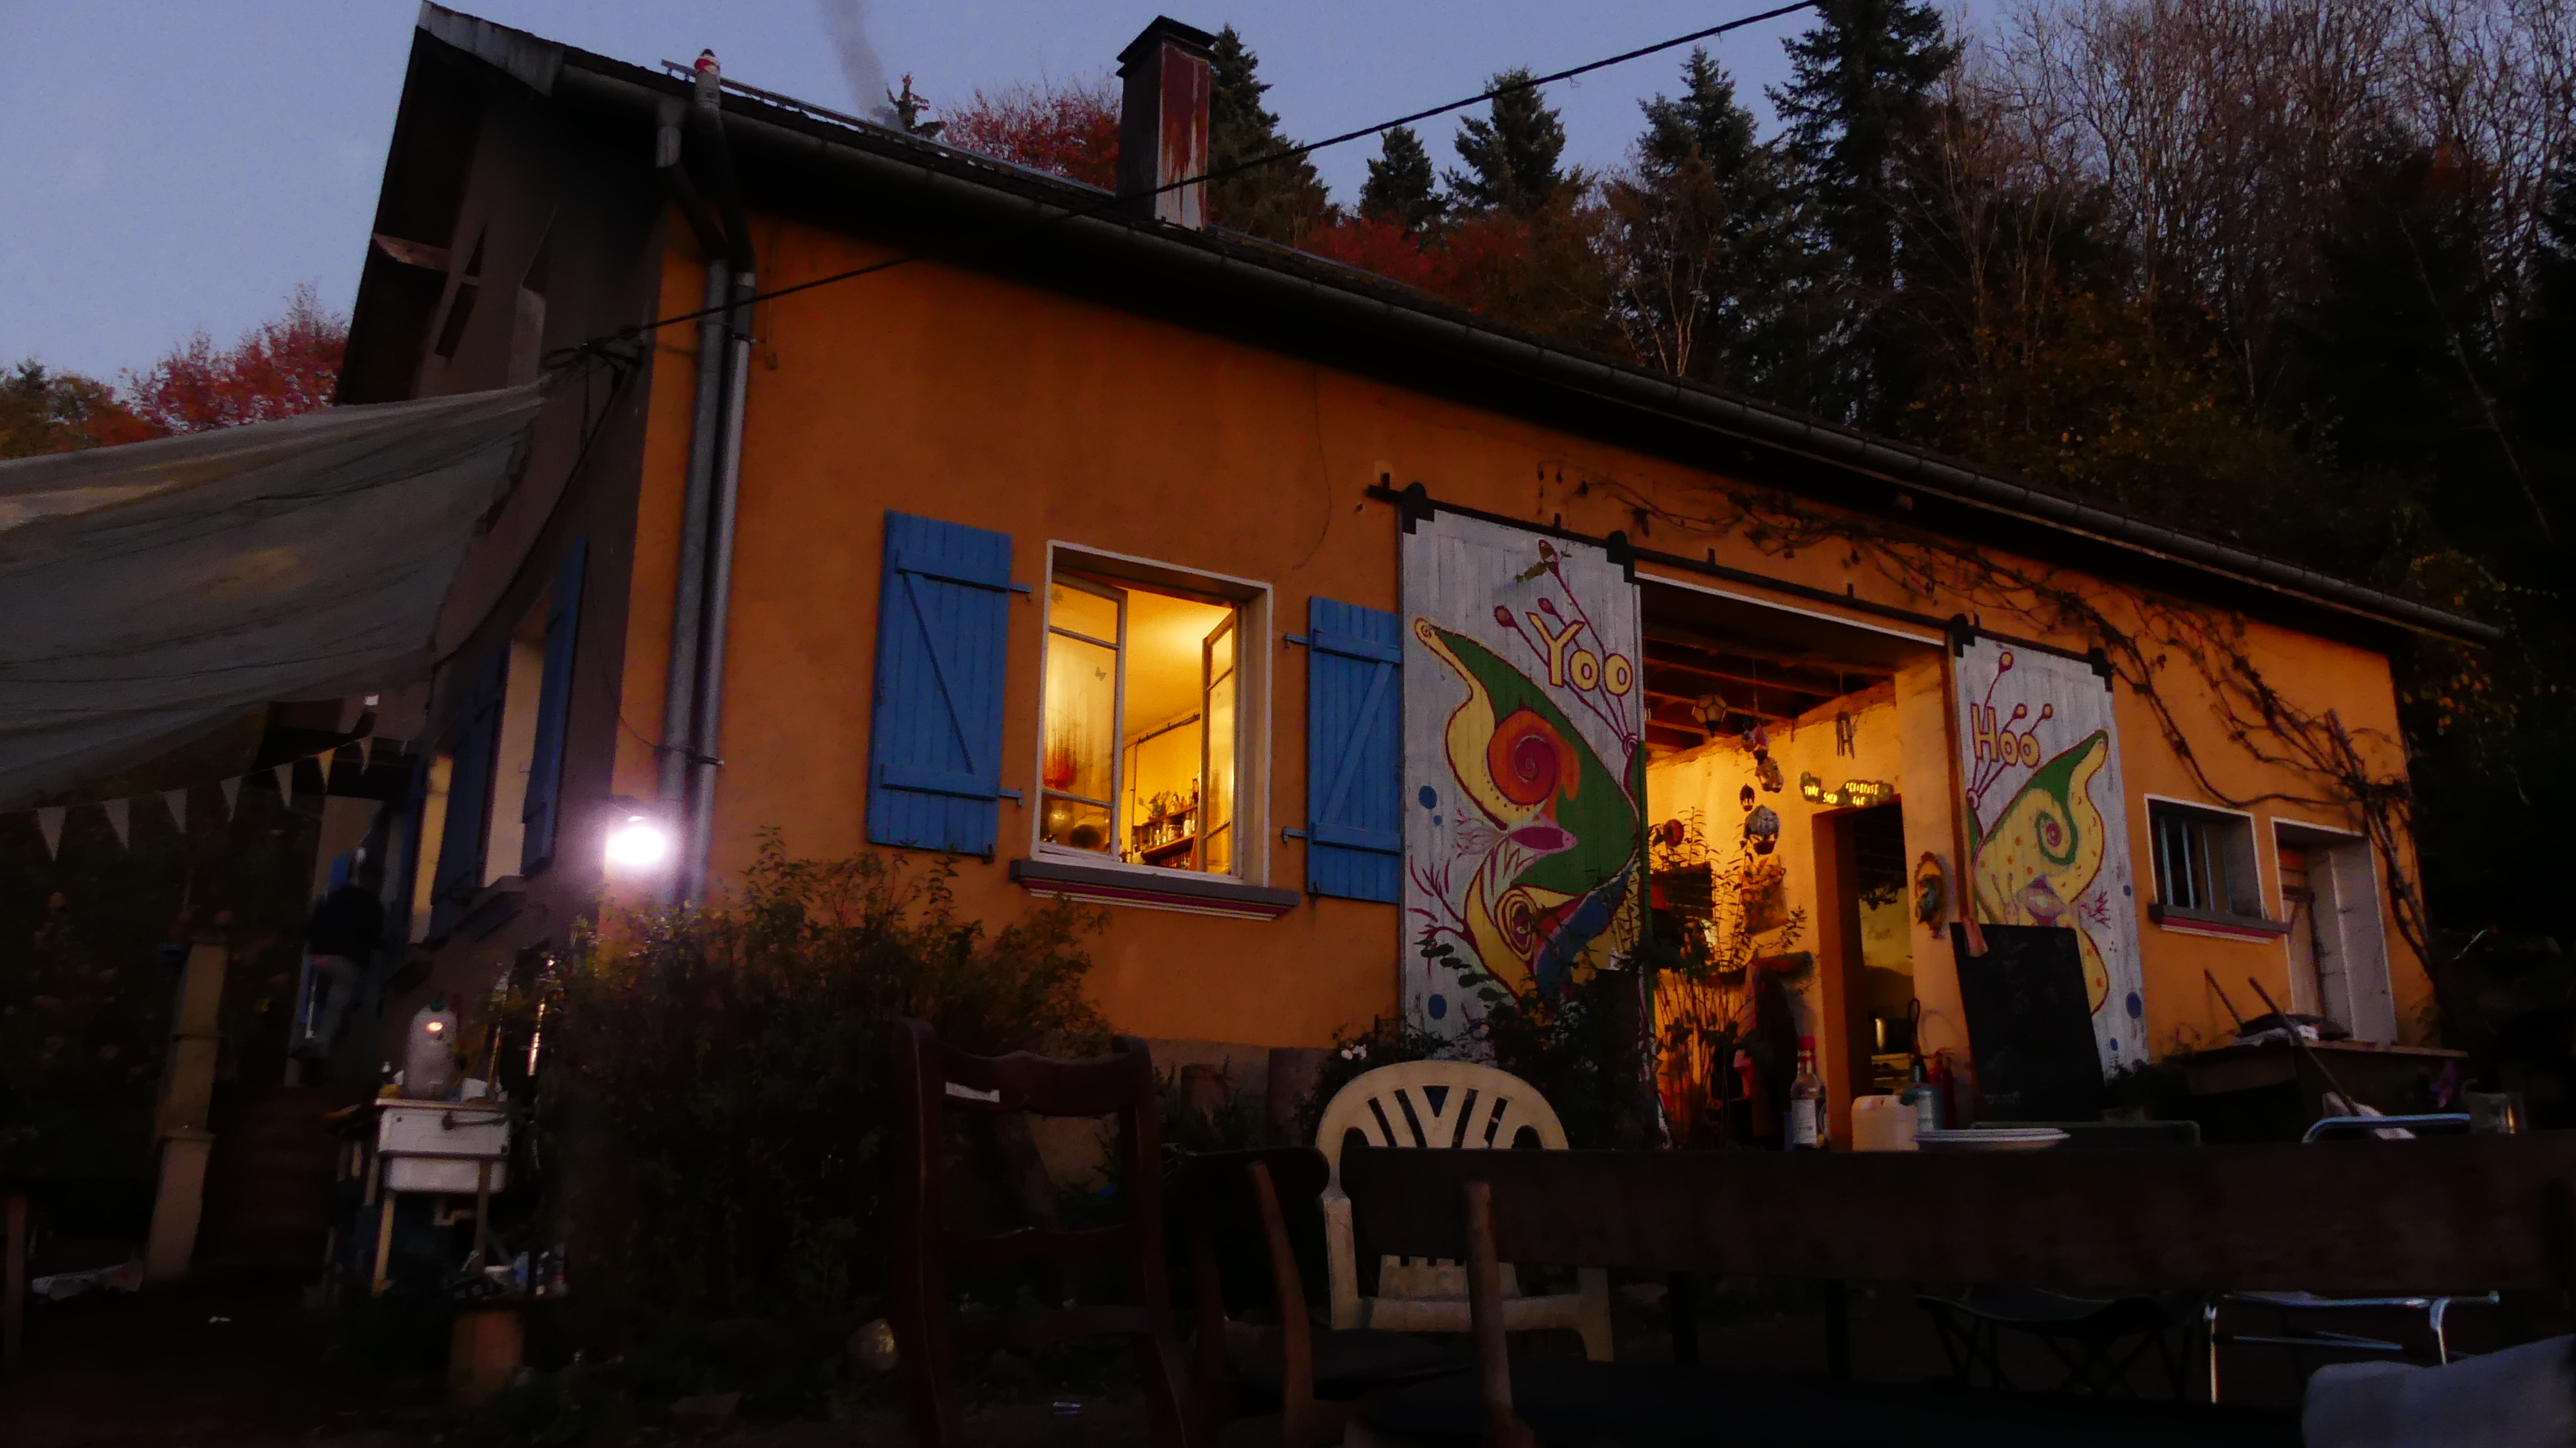
4. Front of the house
-
- Fire pit, Venus Hill, yoga deck, business lounge, the meadow
- Big places of sociability, rituals, workshops, sharing meals and time outside
- Place the kitchen, the breezeway and the breakfast barn from the outside
5. Dish dance area
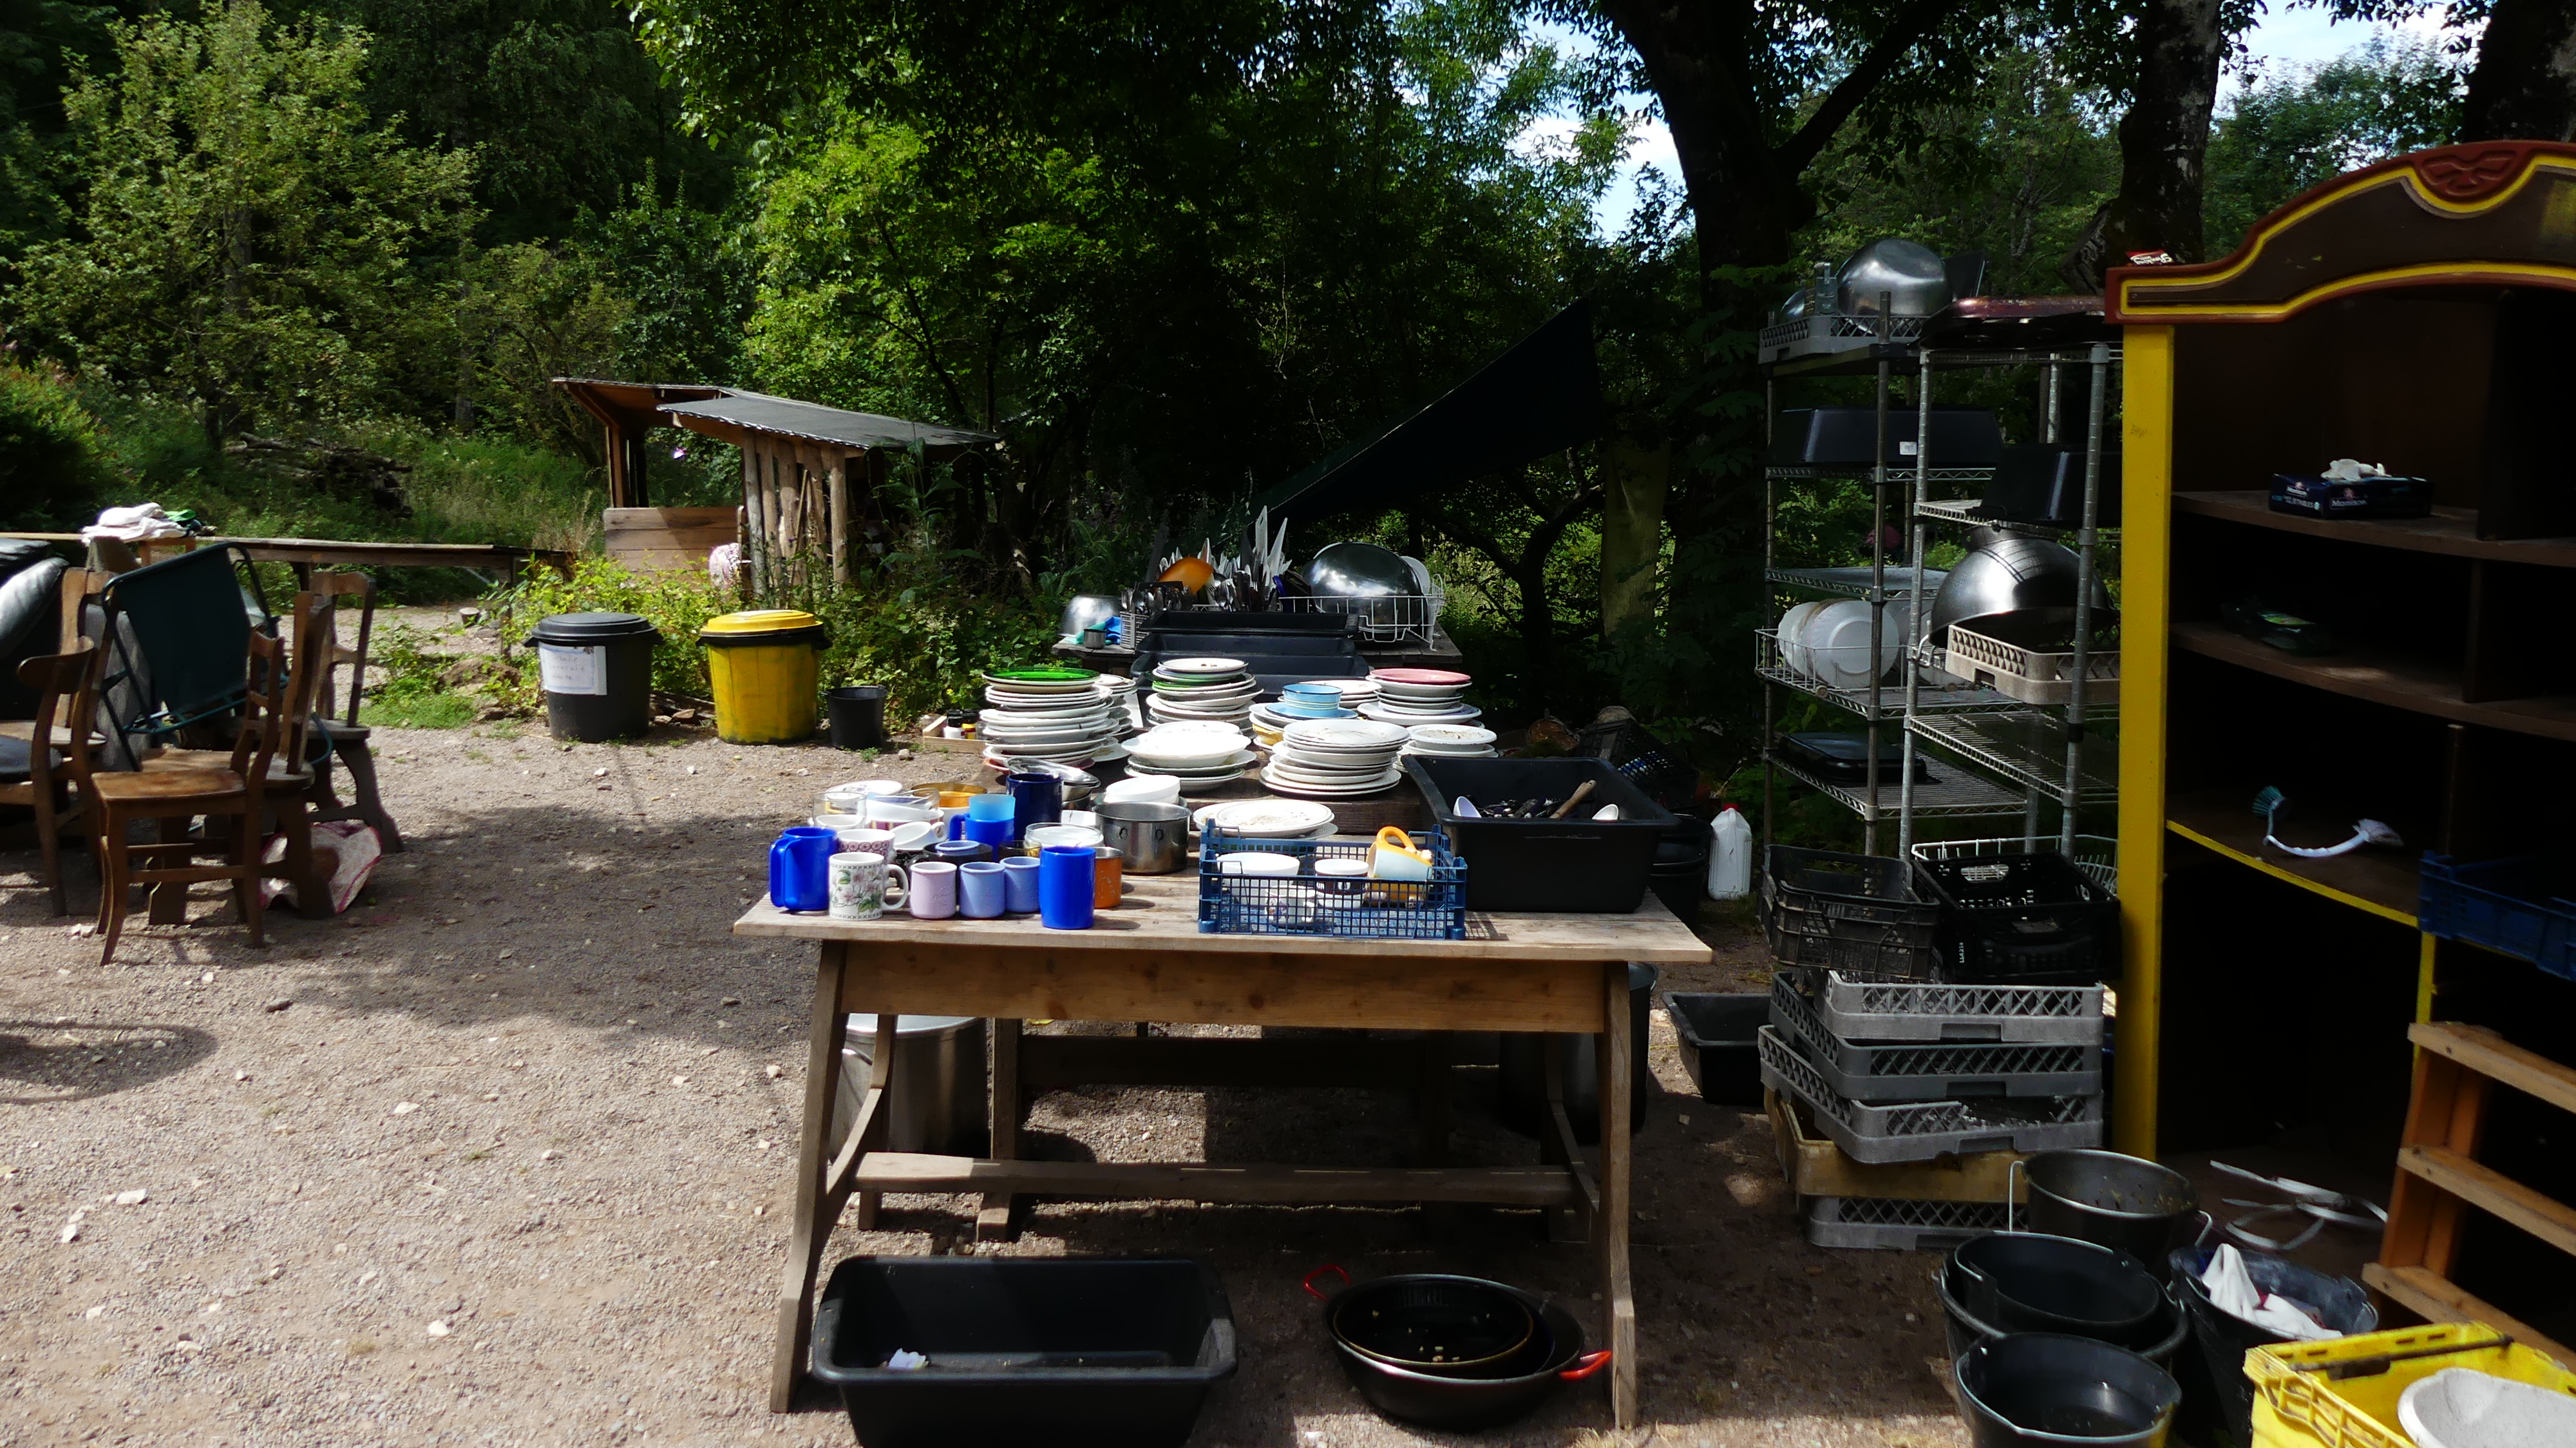
-
- Sacred ritual of the dish dance & policy on amplified music in Folleterre
6. Going up the stairs
-
- Friendship room: warm and cosy space for chilly days and nights in the early spring and autumn, heart circles, massage workshops, sock wrestling and more
- Kitchen – wash your hands!
7. Breezeway, pantry
-
- Medicine cabinet, first aid kit, storage of some necessary items (hot water bottles, batteries, candles, sunscreen, etc.)
- Be careful of properly closing the food cabinets because of the mices and other pests //if you see an empty bottle of sunscreen (or whatever), throw it away, if there is no more sunscreen, write it down on the groceries list (repetition about faery responsibility to make things work)
8. Breakfast barn
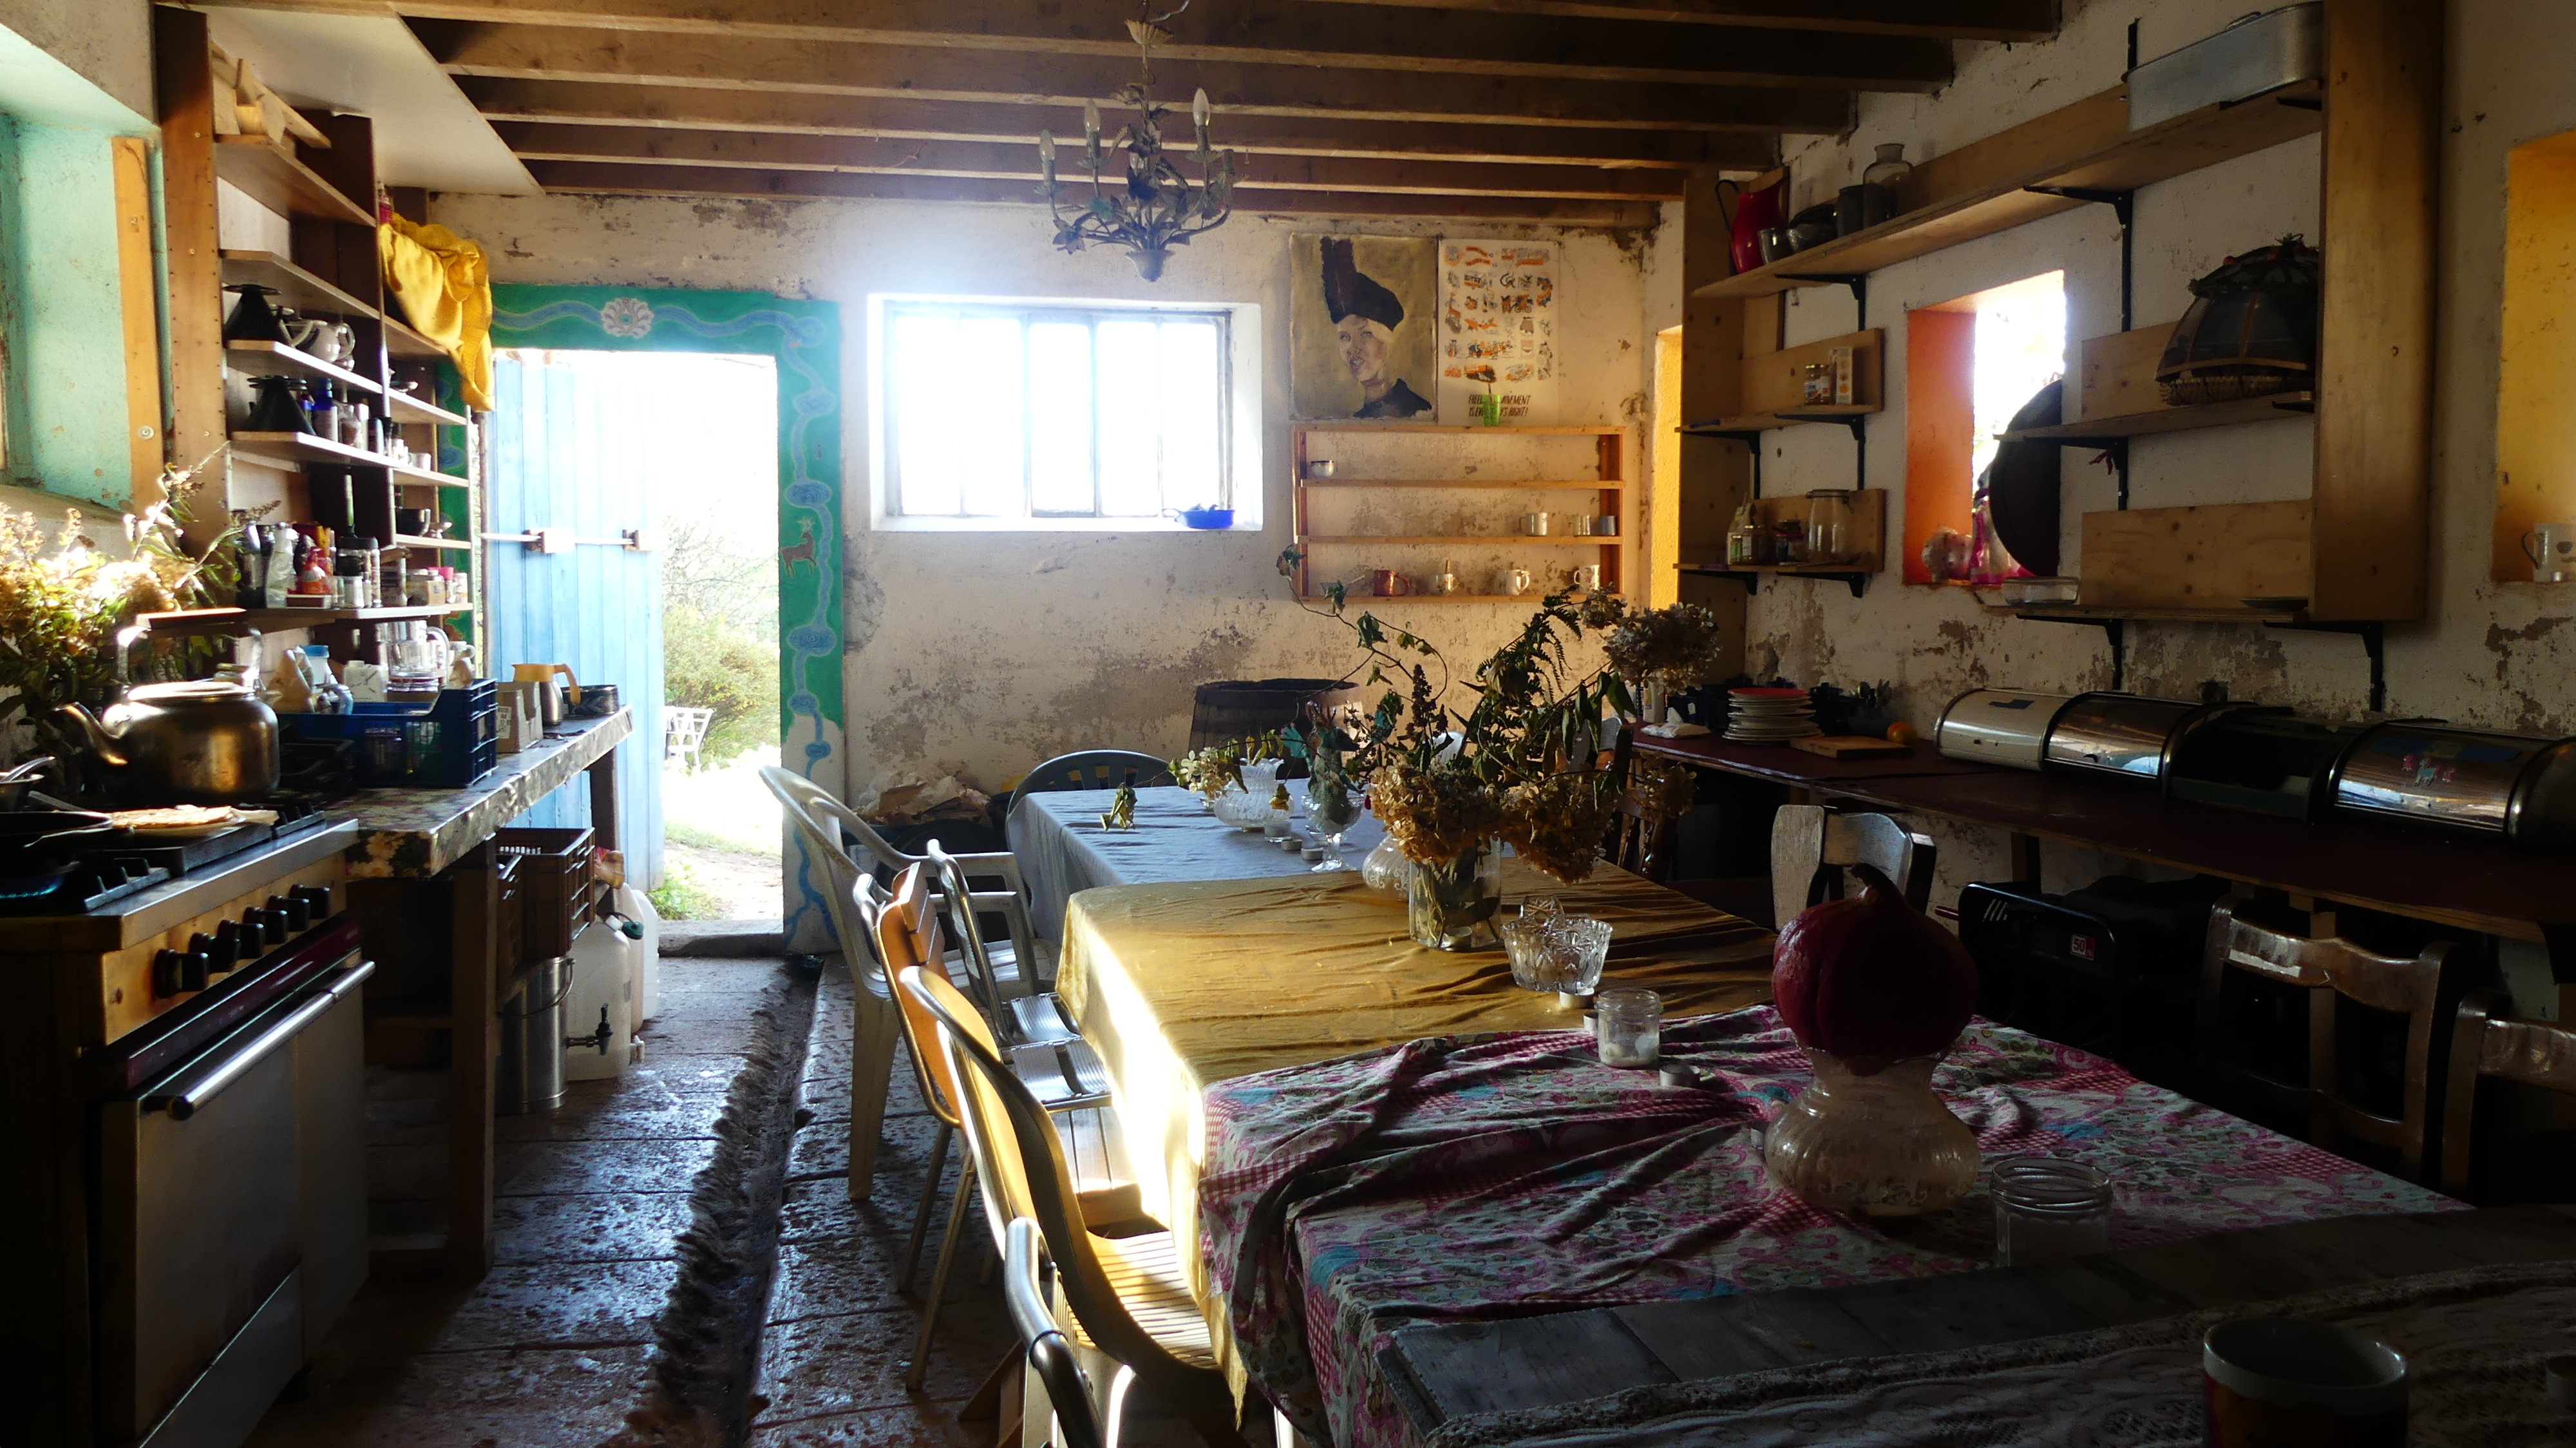
-
- Wash your hands faeries!
- Self-service place for breakfast and snacks + serving food inside the house + cups shelves and pin system to name your glass/cup/mug to keep it and reduce the dish dance size
9. Through the stairs by the tool shed
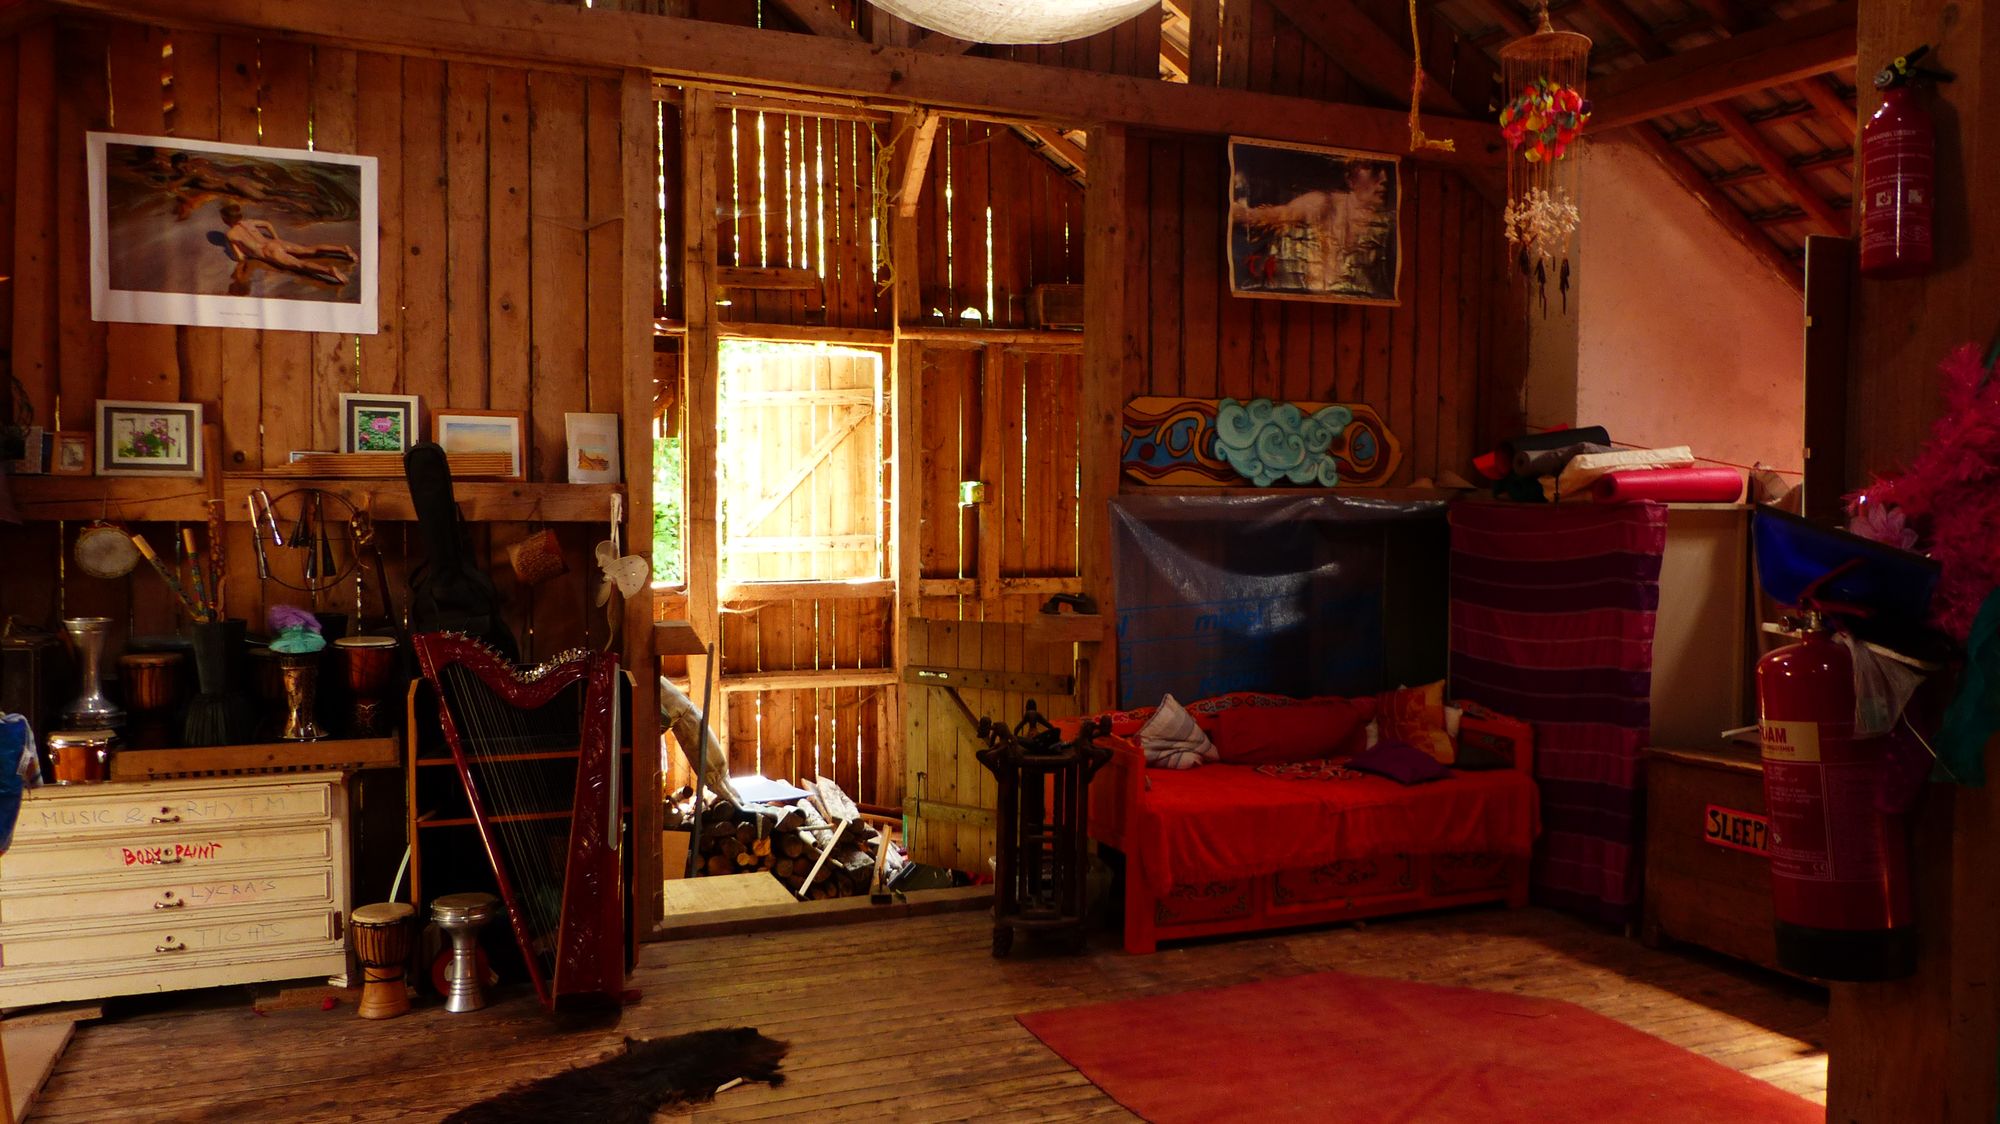
-
- Tool shed for outside and inside work
- Art and Craft storage & Love Lounge (good place to talk about the love temple outside without going there)
- Circus Room - Place of no talent shows, auctions, big group workshops and rituals when the outside is inhospitable
- Drag Room – let your fabulousness shine and play with your limits! Keep it tidy as much as possible, be responsible of what you get and put back there.
- Attic – Not a dormitory until it is again… Place for small workshops or heart circles and drying laundry
- Library
- Hospitality room for special needs faeries
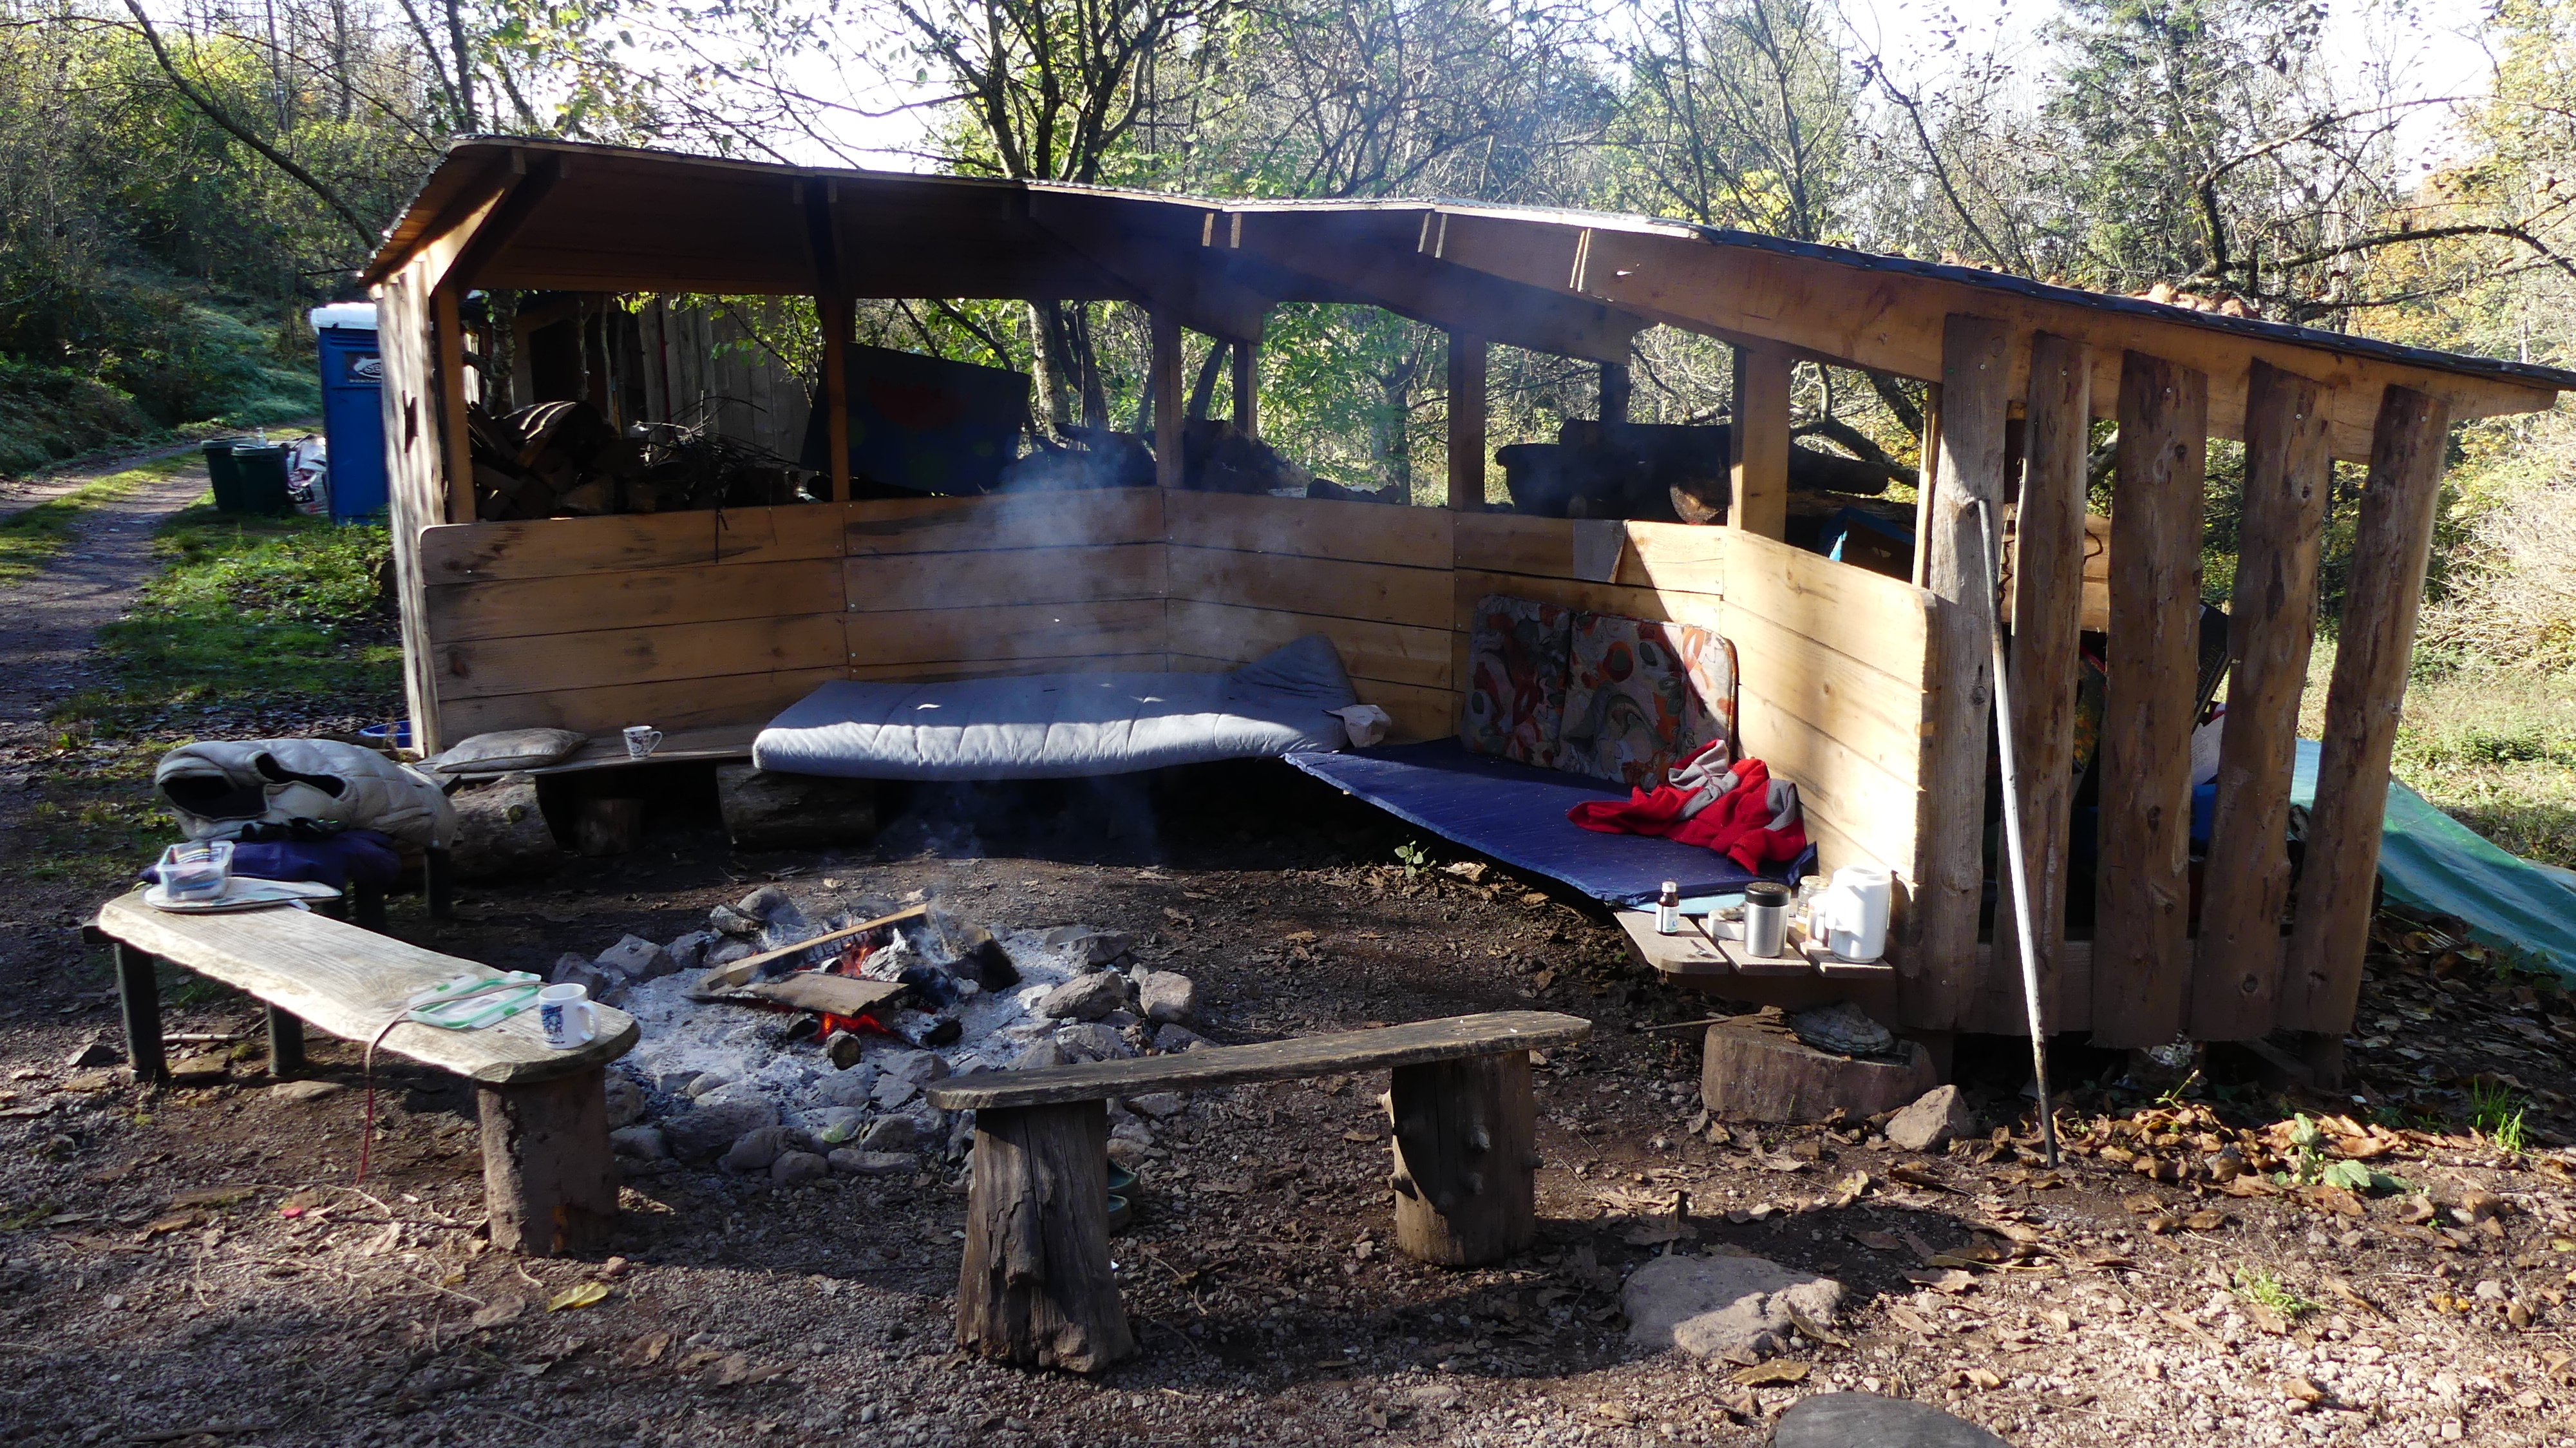
10. Down the stairs to the bath area
-
- Cellar to store food that needs colder temperature
- Bath area: how we take cold water from the spring and warm it up with fire / Don’t use hot water before a dishdance / Fill the hot water tank back up when you use some + don’t hesitate to put wood in the fire under the hot water tank
- How we shower and bath
- Being careful with fire: accidents can happen fast and Lure’s firefighters are not even sexy / story of the sauna and the previous wood shed
11. On the way to the prairie
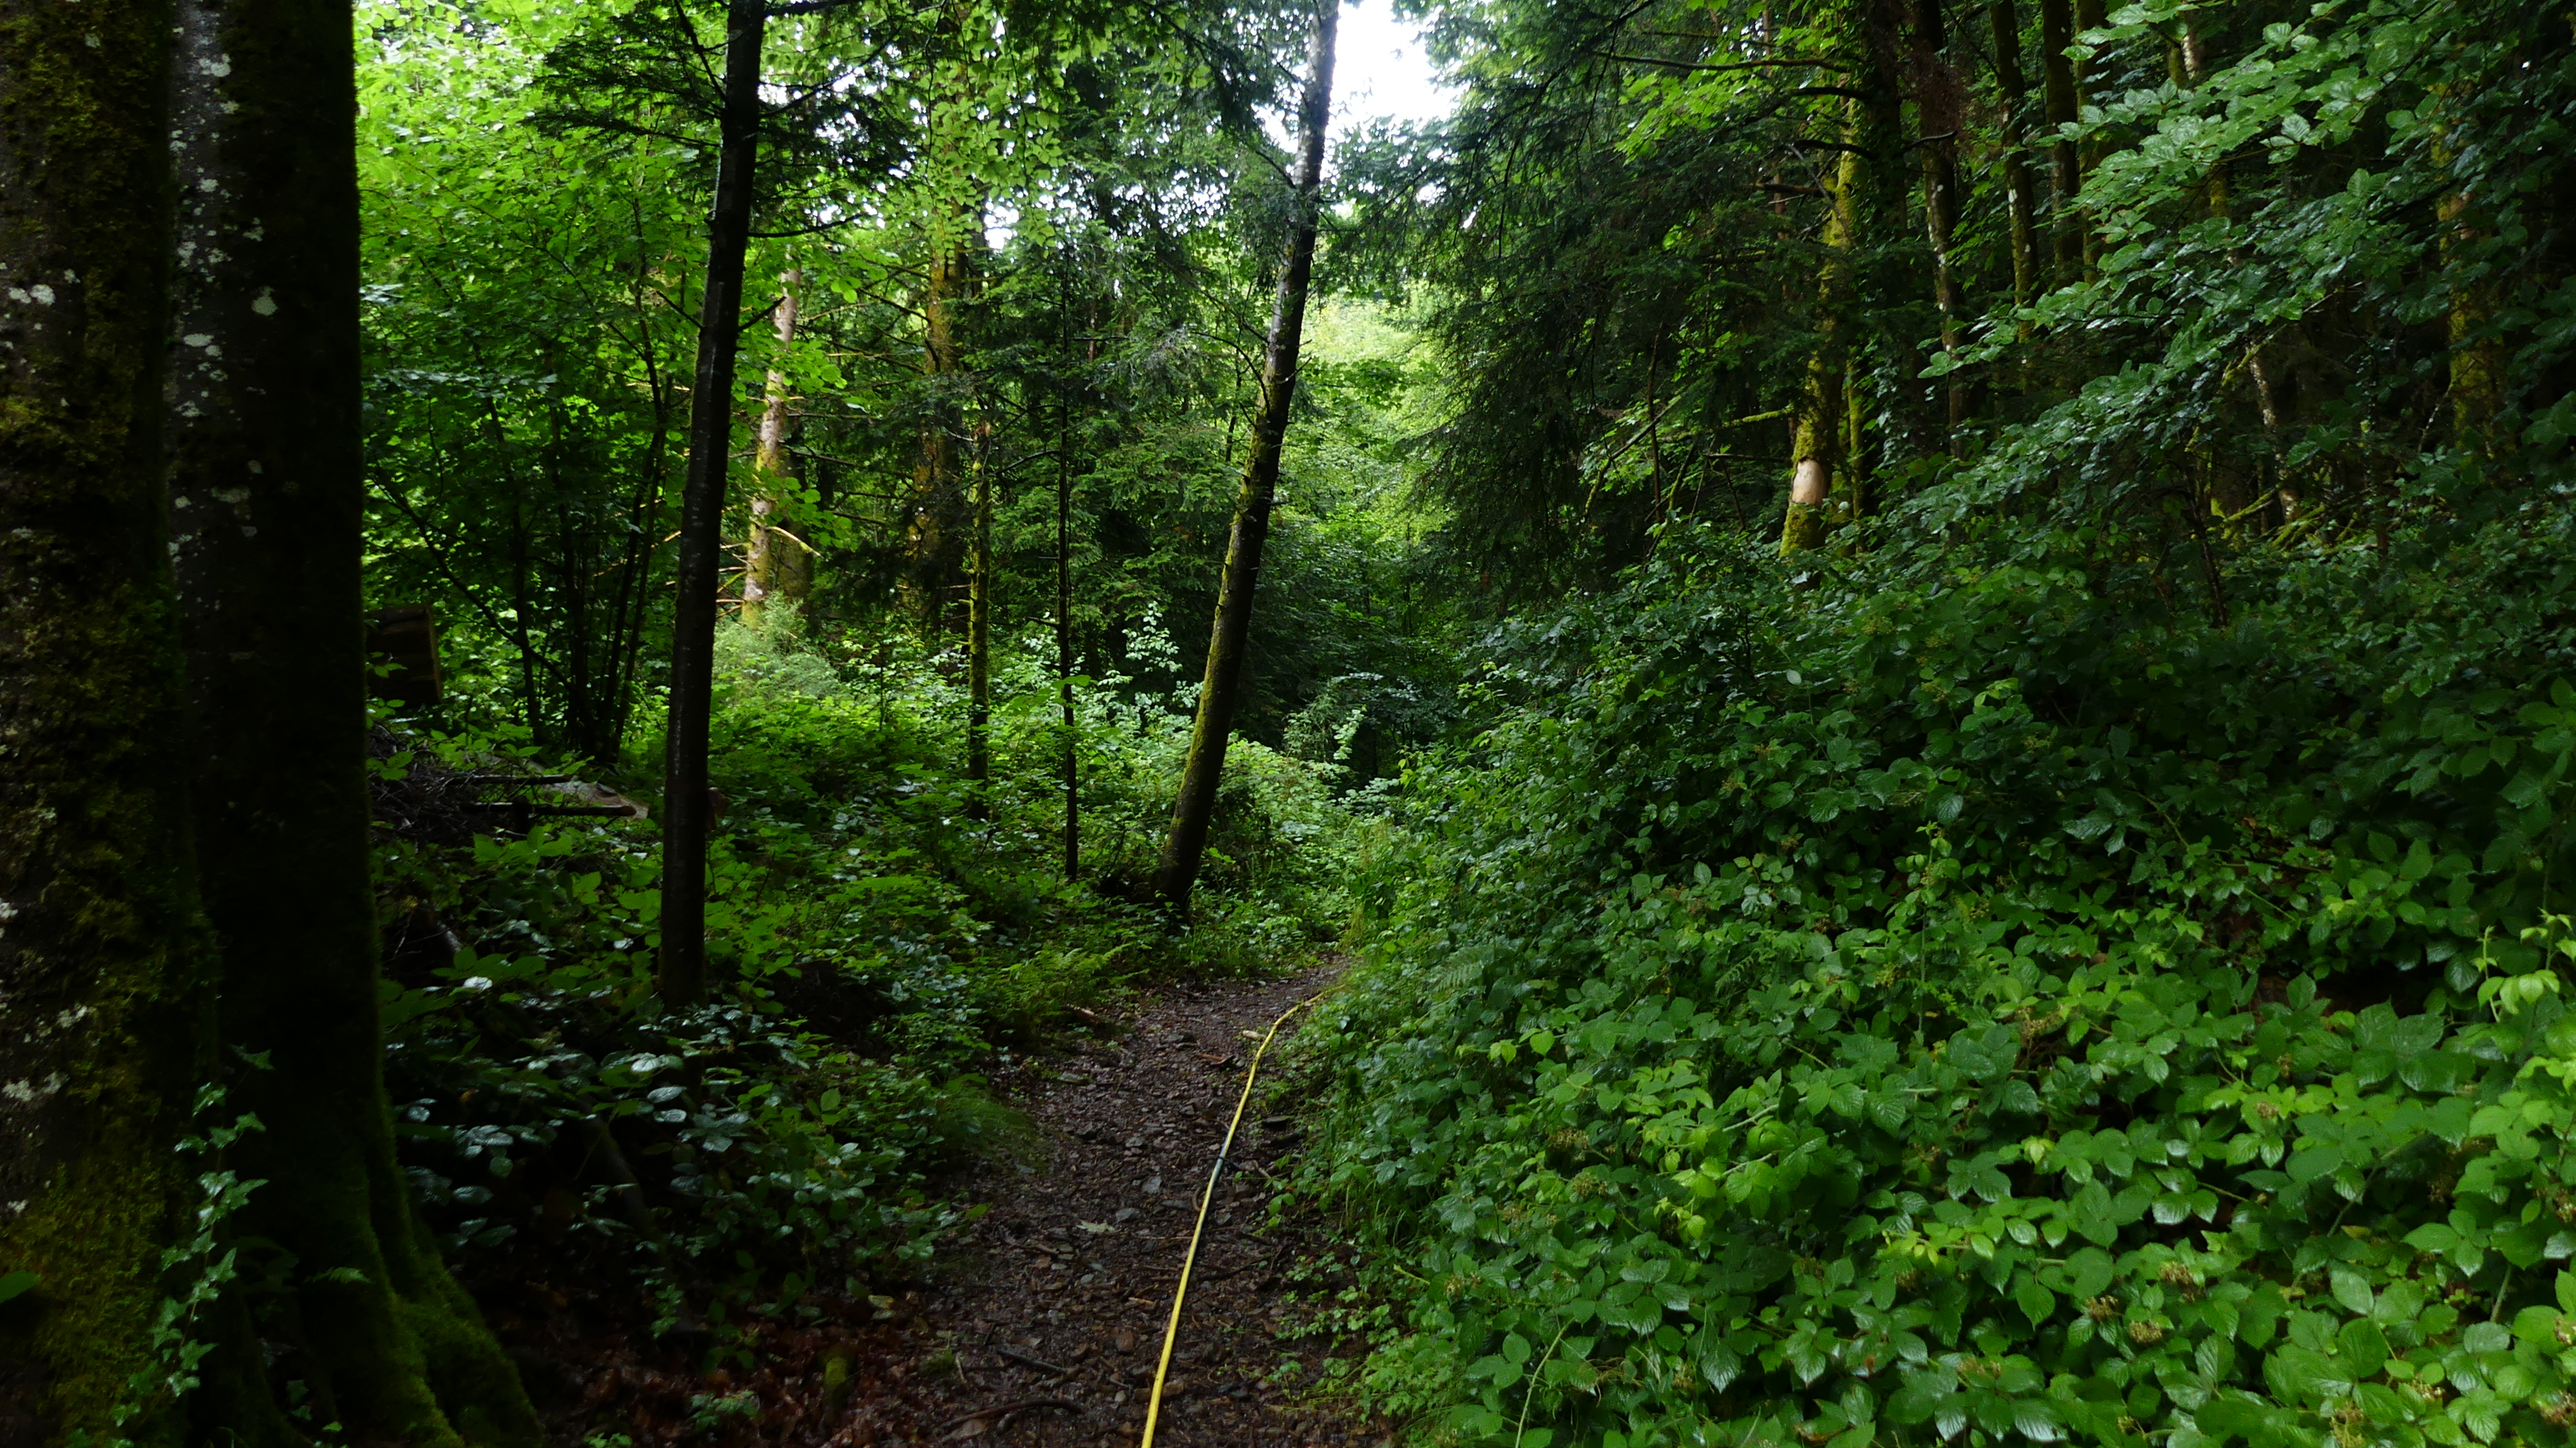
-
- Talk about the different camping spots
12. Ancestor tree and prairie
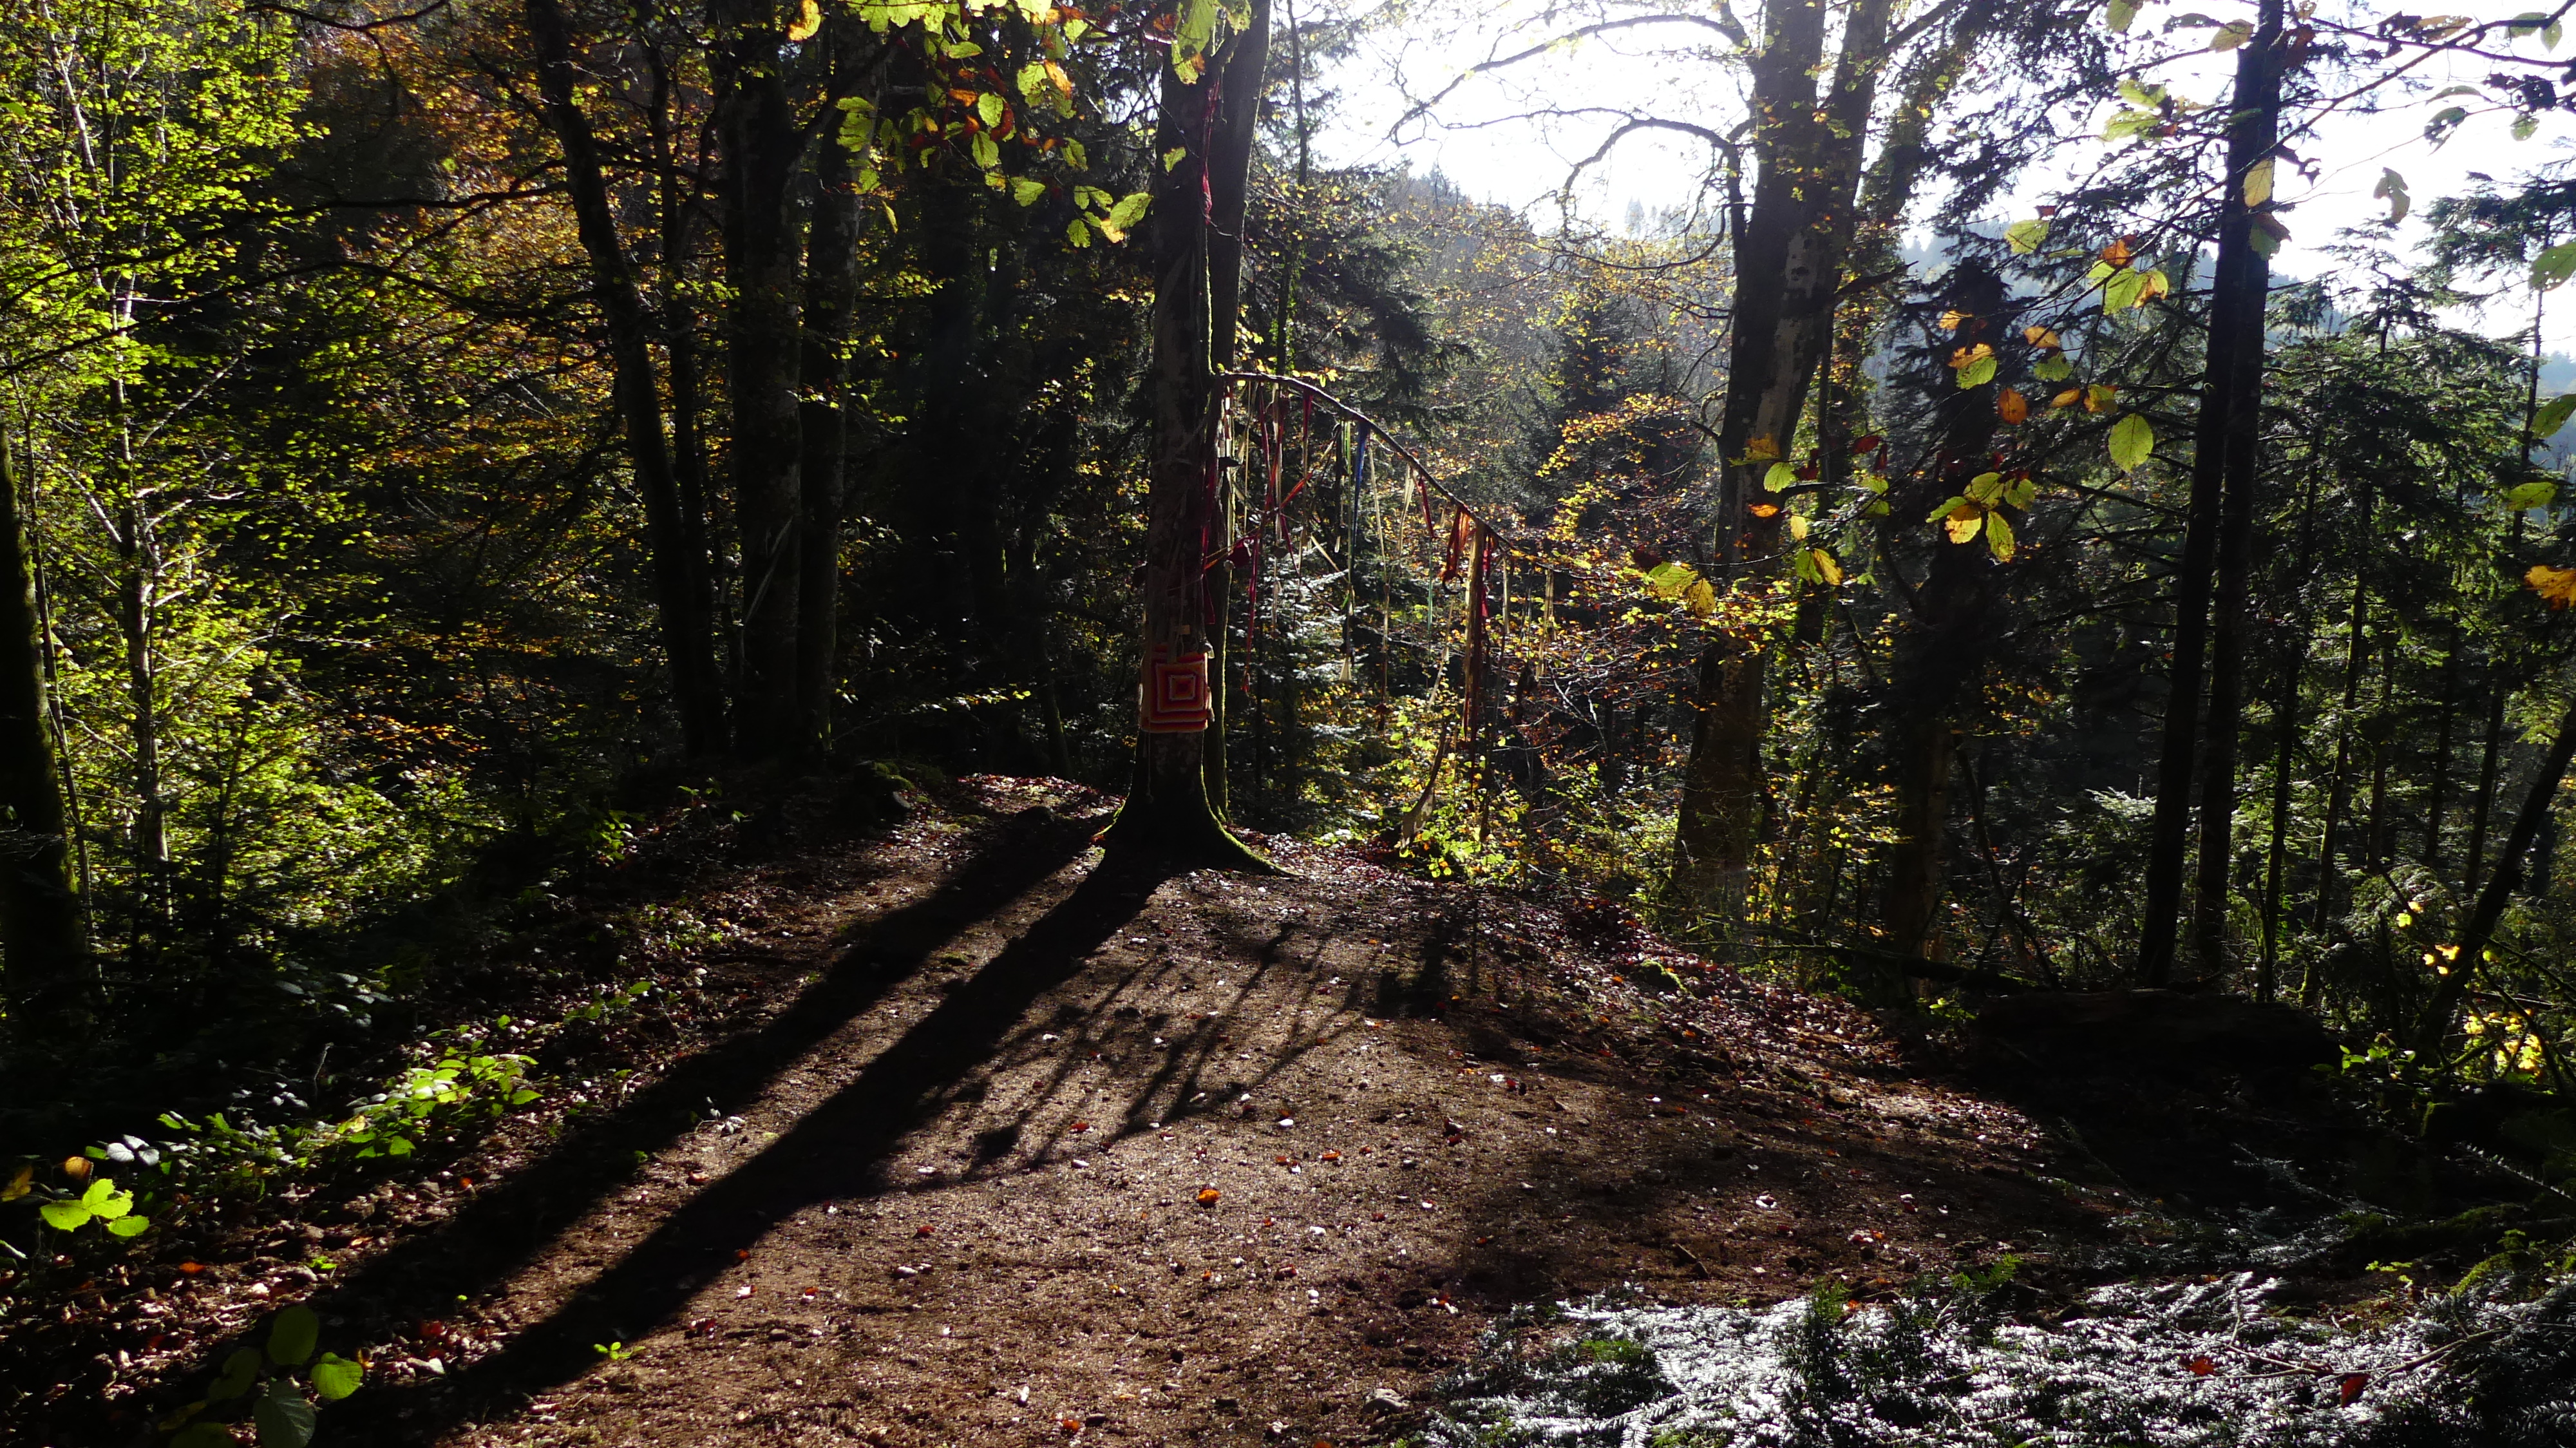
-
- Magical place of community rituals, remembrance of the ancestors, etc.
13. Back from ancestor tree and on the way to the trans-cestor trees
-
- Point to meditation rock and to the way to the first lake
- Place of remembrance of the trans ancestors and rituals of protection of our trans faerie siblings
14. Going back down to the house (water tanks and water pump)
Toilets
History of the toilets
First there was a shit tower and a poop-o-rama.
Then there were the bins but it wasn't composting well and we didn't know what to do with them.
Now we have electrical compost containers!! Weeh.
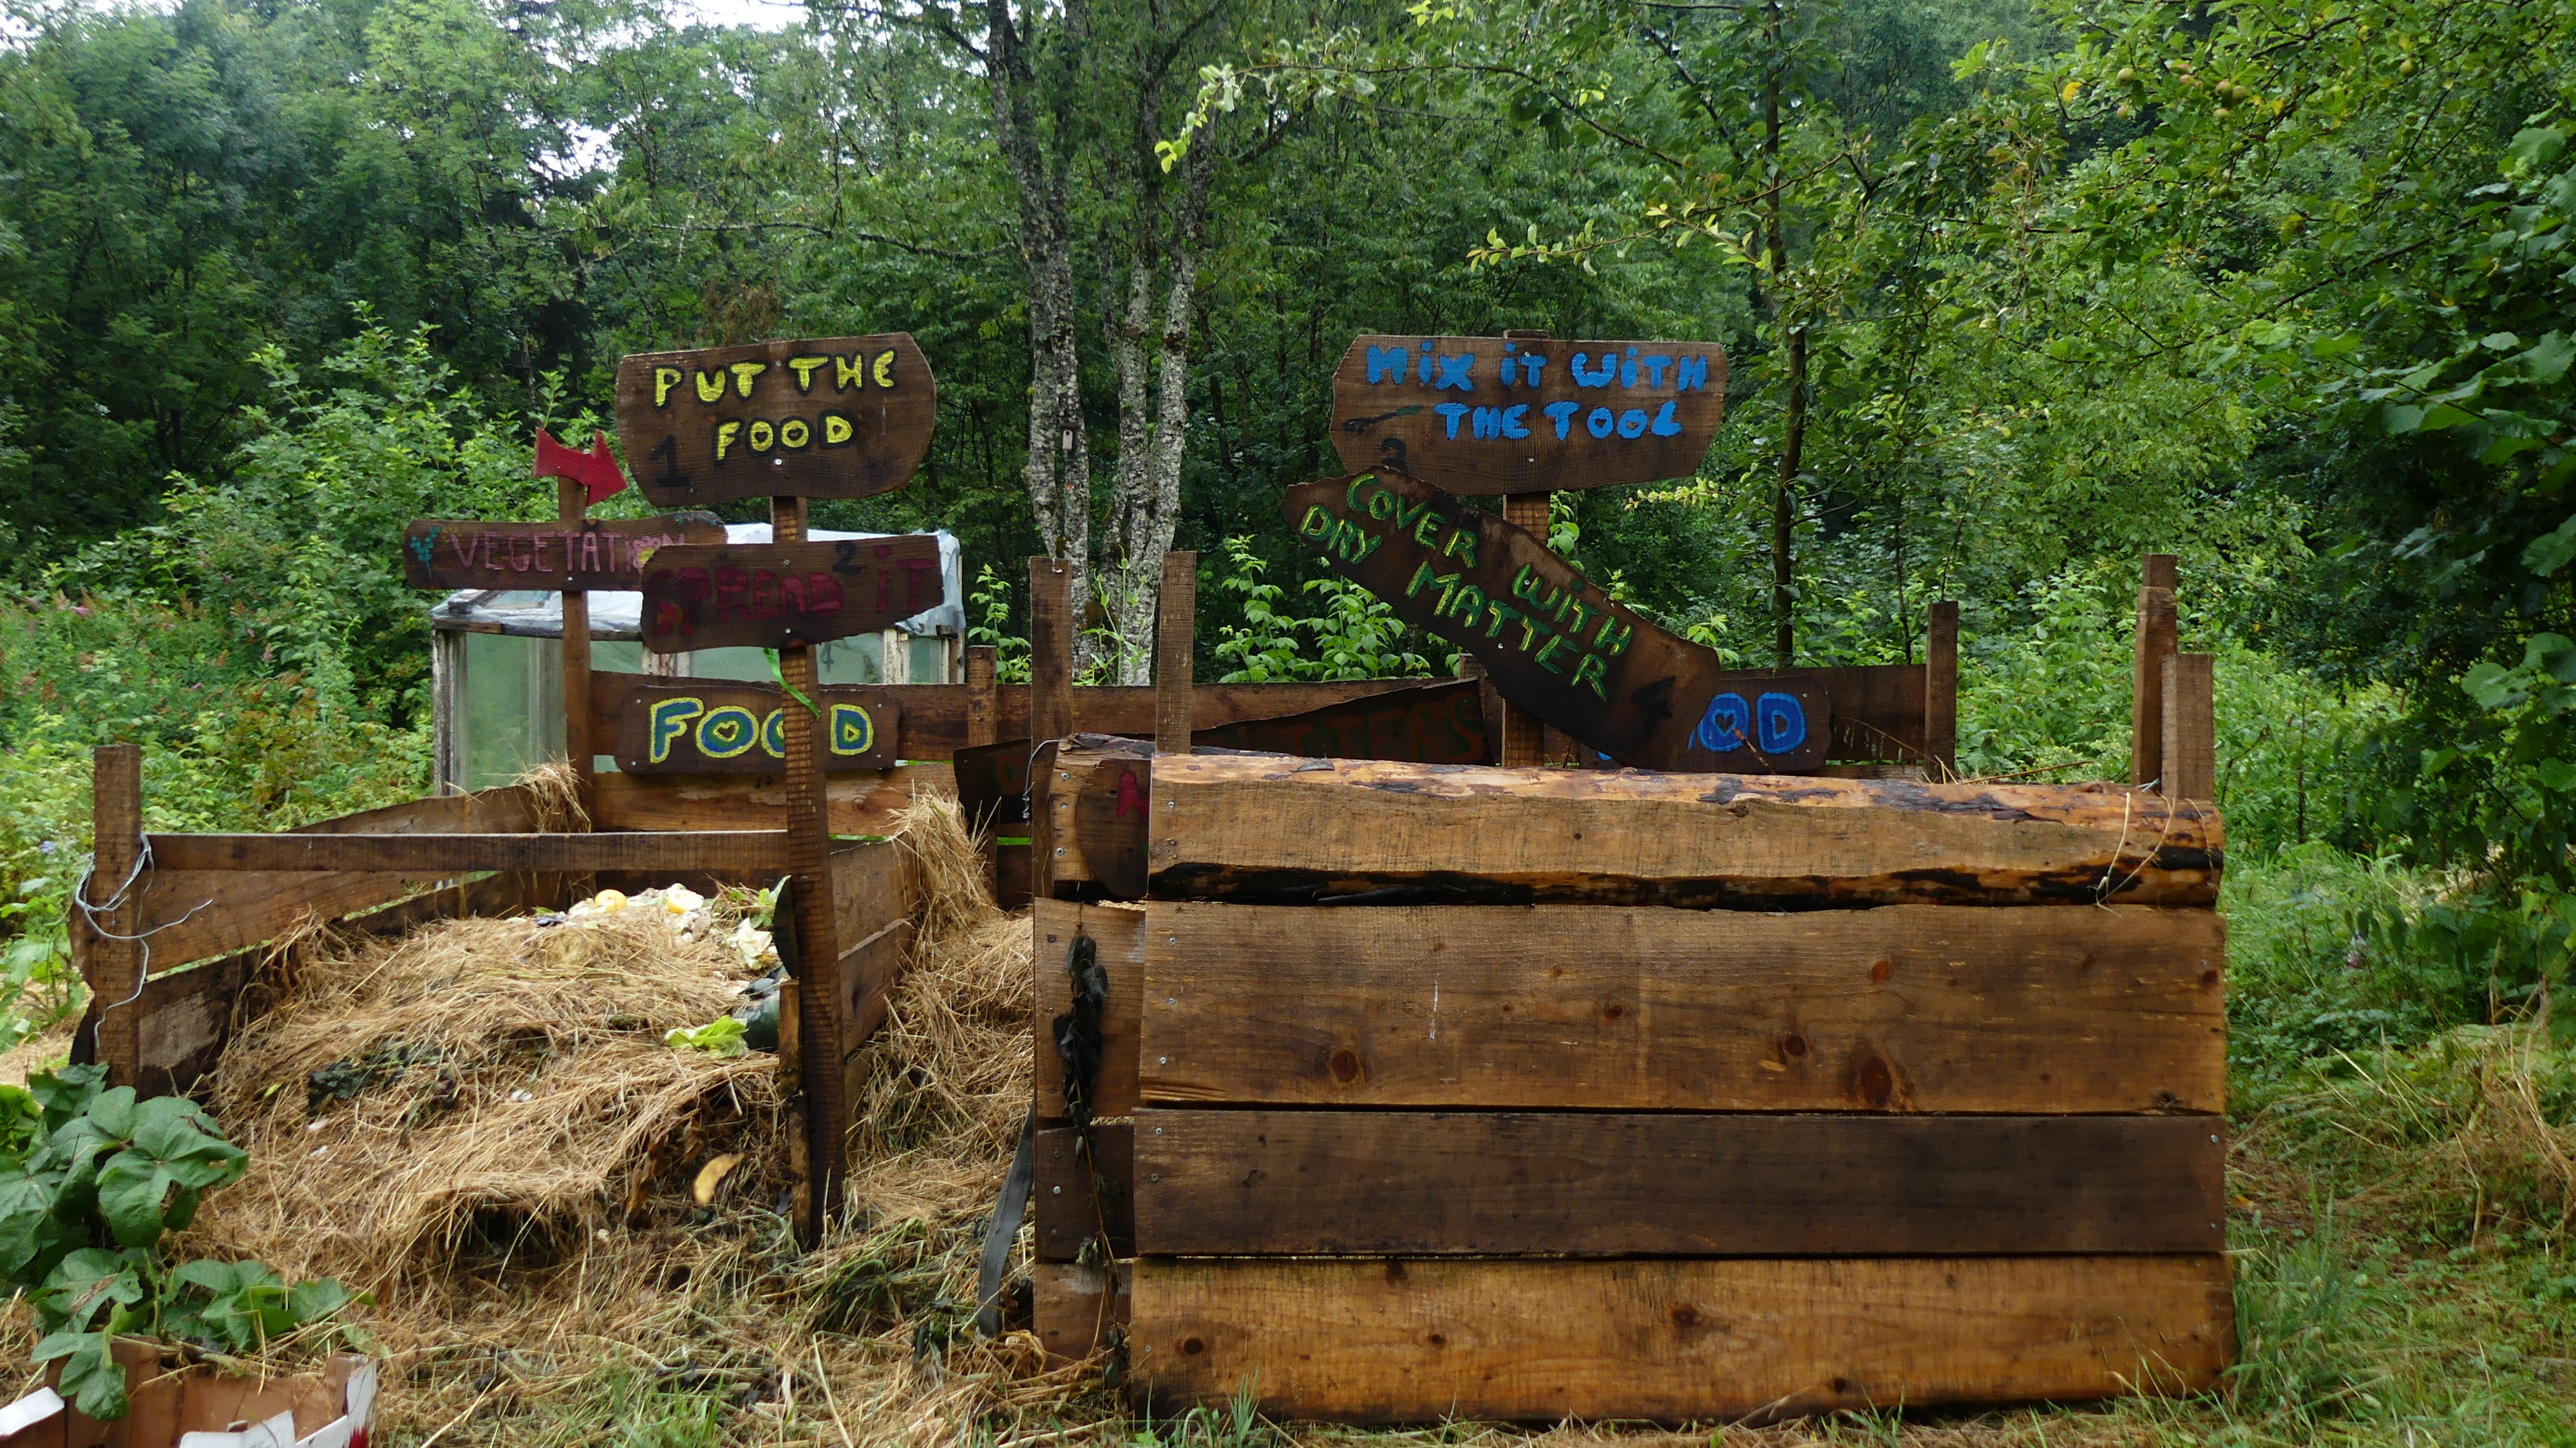
The poop compost
The structure on the left of the toilets is a poop compost! It was made as a temporary buffer to empty bins before we got the new system installed. It was made and filled for Summer Solstice 2025, to be released into nature on Summer Solstice 2029.
Things to know about the compost
MOST IMPORTANTLY: should never be in direct contact with the ground and should always be covered to avoid rainwater carrying pathogens into the nearby water sources
The poop needs to be in a separate but well-ventilated area to properly compost. It should take 2 years for the compost to be ready to use somewhere in the forest (NOT on crops in the garden), assuming it's going to be mixed every 6 months or so, so we are assuming 4 years with limited mixing should do the trick.
- Take a bunch of pallets (Morell has lots and lots of them to give away for free) and put them together to make some sort of open box. You can screw them together and use buried logs to act as support.
- Take a lot of twigs and use them to fill the holes at the bottom of the pallets. Fly net can work in a pinch but it's a much more expensive solution. Then put a layer of twigs laid horizontally to make it a little more ventilated.
- Add some organic matter from another compost like the one in the garden to help kickstart the process, layering it evenly.
- Dump the bins into the structure, making sure it's spread as evenly as possible too.
- Add hay on top to keep away the flies, you should not be able to see the sawdust under it.
- Cover the whole thing with a waterproof tarp, making sure it's at an angle so that the rainwater does not accumulate in one spot.
Voilà! You have a new compost container.